
Preliminary Steps
Learn how to set up your Enfusion project, acquire your 3D model, and import it into Blender.
1:1. Create Necessary Folders
To start your project correctly, create a folder specifically for your project to centralize your files and other resources.
Once this folder is created, make two subfolders:
- One for 3D models, name it "
Sources."Sources" - Create another subfolder within "Sources" called "
Textures."Textures"
2:2. Create an ENFUSION Project
Start by launching the tools from the "Tools" category in Steam.
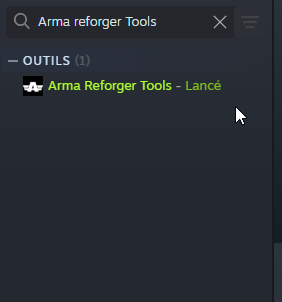
You can right-click to add it to your Steam library.
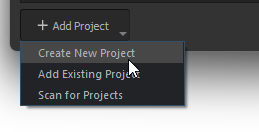
Once the tools are open, click "Create New Project."
Then, you can name it (without special characters) and specify the folder you created (the one named after your Enfusion project).
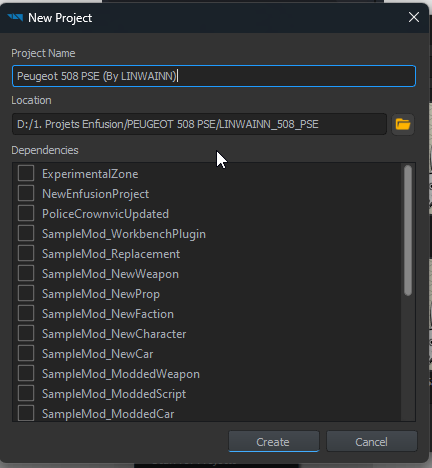
New Project Creation Page When Launching the Tools
After that, click "Create," and you will arrive on the main tools page.
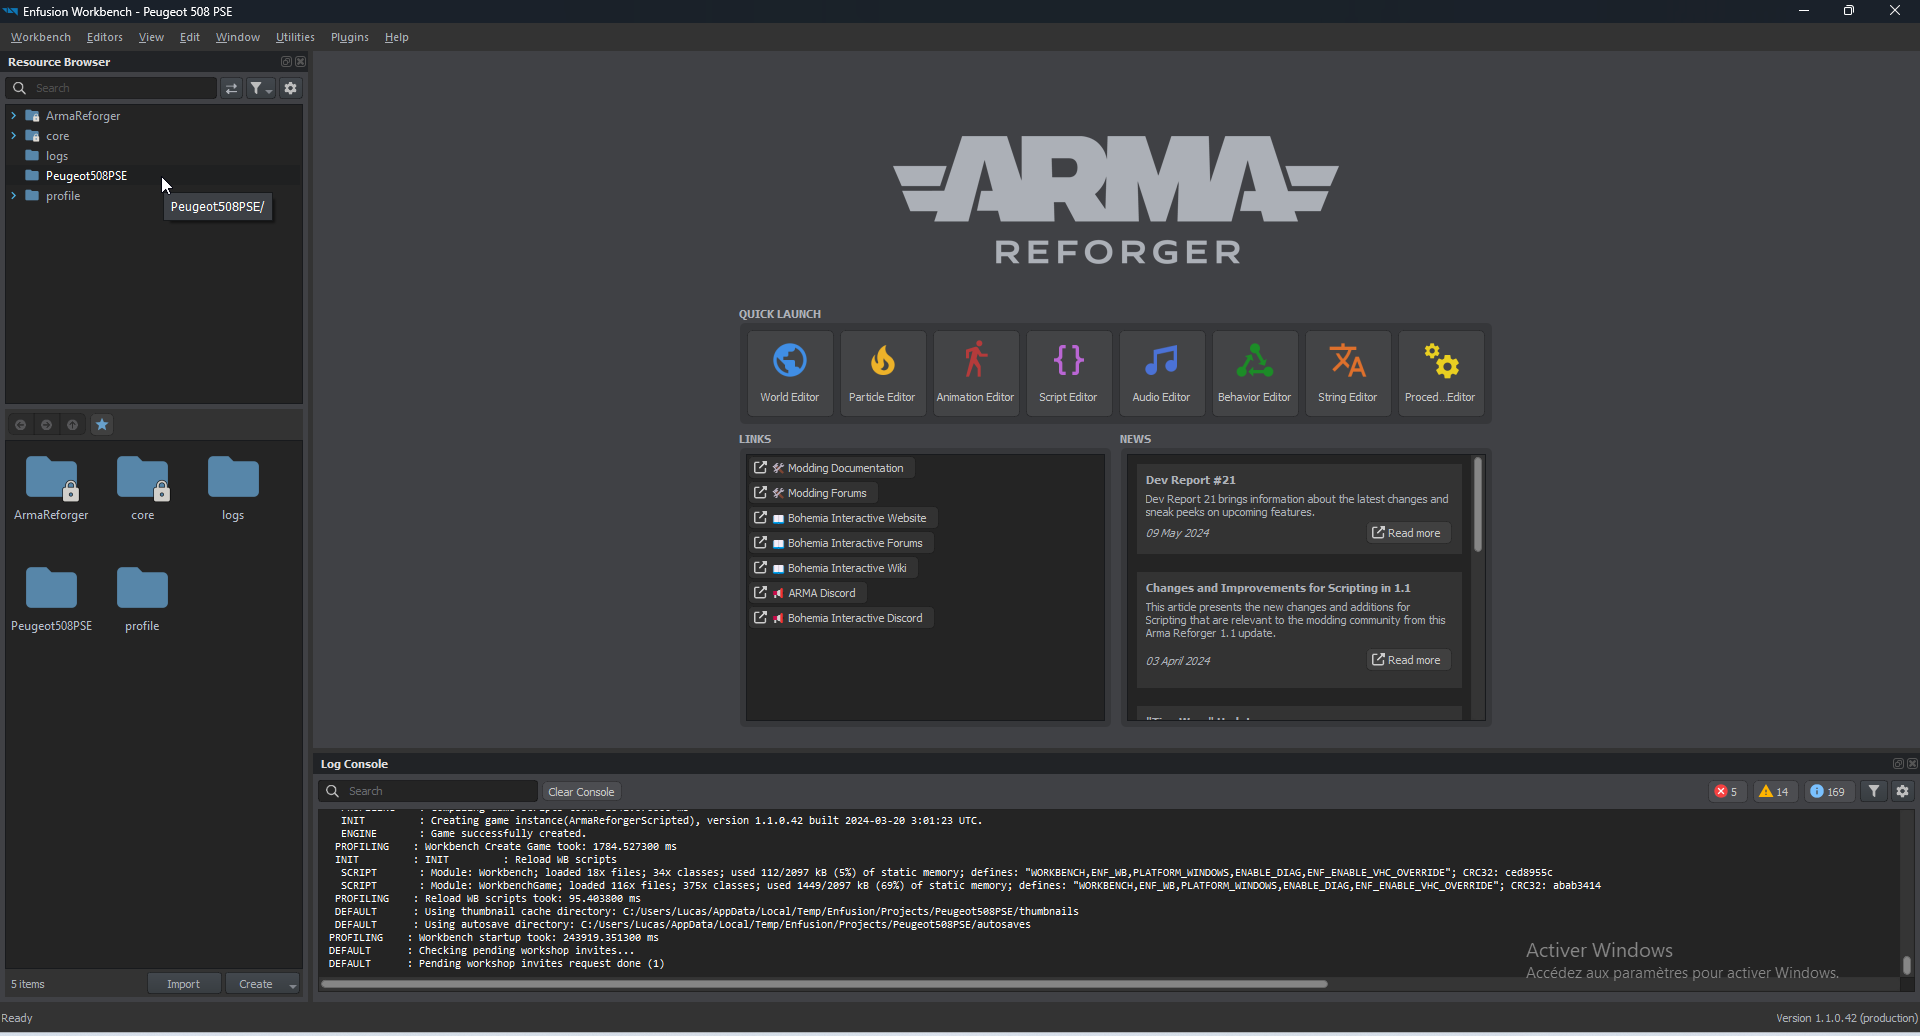
Main Tools Page (for Arma Reforger, but the same for Arma 4)
Once the project is created, open it in your file explorer (Windows), and Ibohemia interactive recommend creating this folder structure:
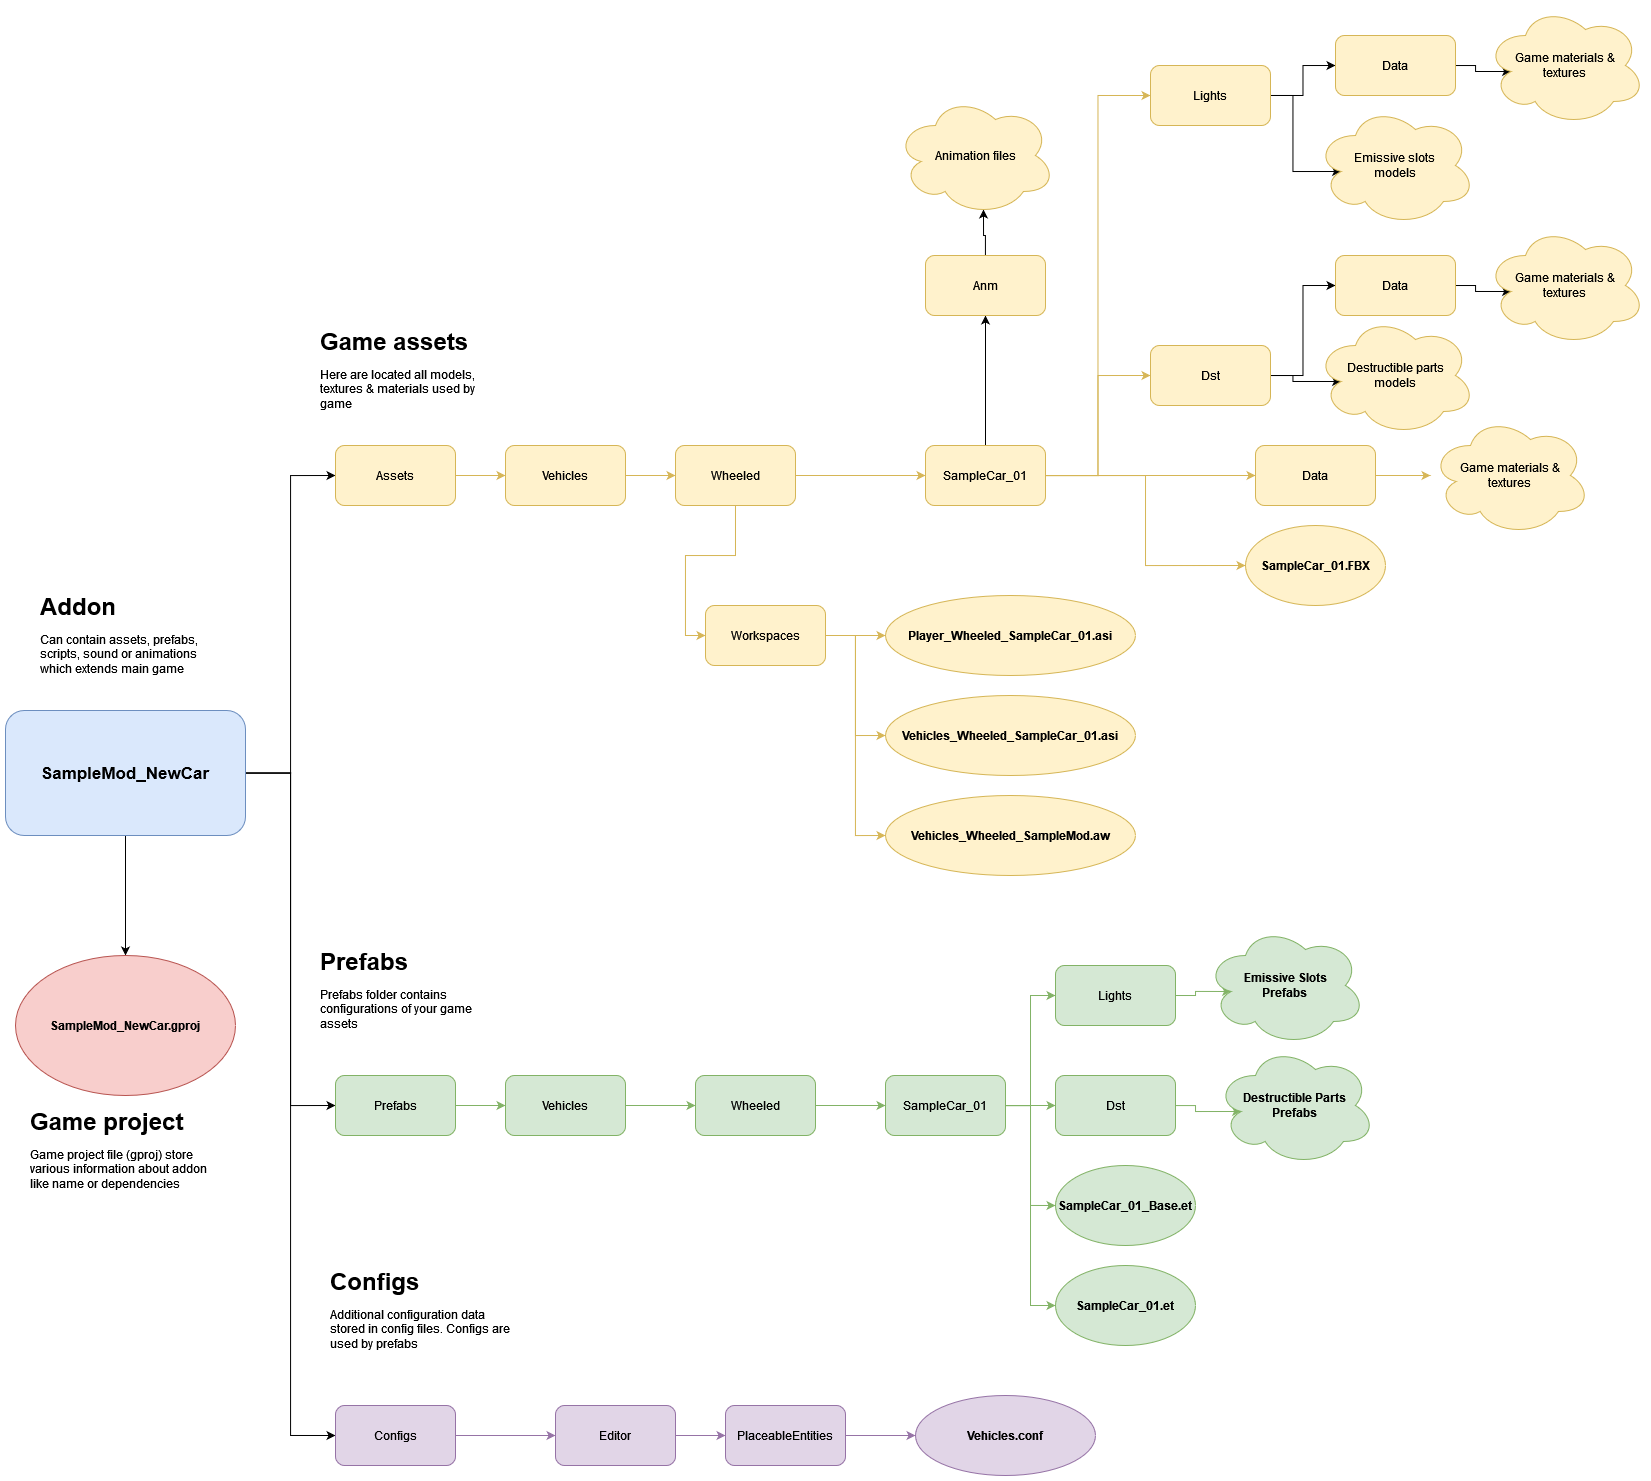
Recommended File Structure for Arma Reforger You can organize it differently, but you may encounter bugs and difficulties.
Reminder:
- Rectangles represent folders.
- Bubbles & clouds represent a file or other item.
And, of course, replace "SampleCar_01" with the name of your vehicle, following this format.
Once this is done, you can move on to the next step.
2. The 3D Model:Model
The next step is to find an appropriate 3D model. Here are some tips for choosing well:
Prefer models that come from an existing game (e.g., GTA 5 mods, which is my case)(with the permission of the base modeler DO NOT STEAL the model).First-person view is frequently used in Arma, so if possible, choose a 3D model with an interior.Try to find a visually appealing 3D model that already includes textures, which will simplify the process (ideally,LowPolypoly PBRmodels).If nothing free meets your needs and you are of age and willing to spend some money, you can always find cool models.Try to reach out to modders who might be willing to share their 3D models (notably from GTA 5 mods).NOTE:You must own GTA 5 to access the 3D models—cracks definitely don’t work.There are also 3D models available on the FRM Discord:FRM Discord Link
Once you have your 3D model, you have two choices:
If you have a.blendfileIf you have another file (FBX, OBJ, etc.)
If You Have a .blend File:
Simply open Blender (4.1), and once launched, click on "Open."
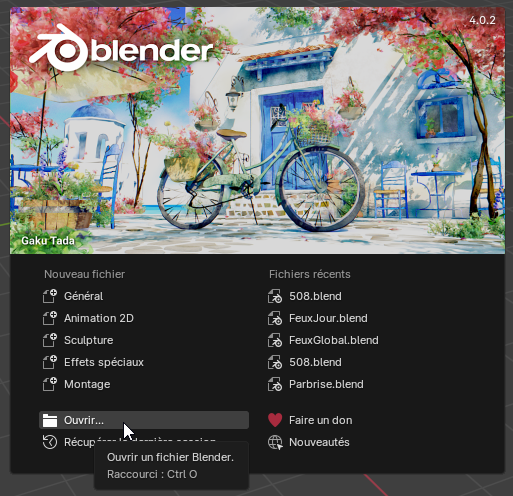
Click on "Open" and Select Your .blend
Once the .blend is open, it should look like this:
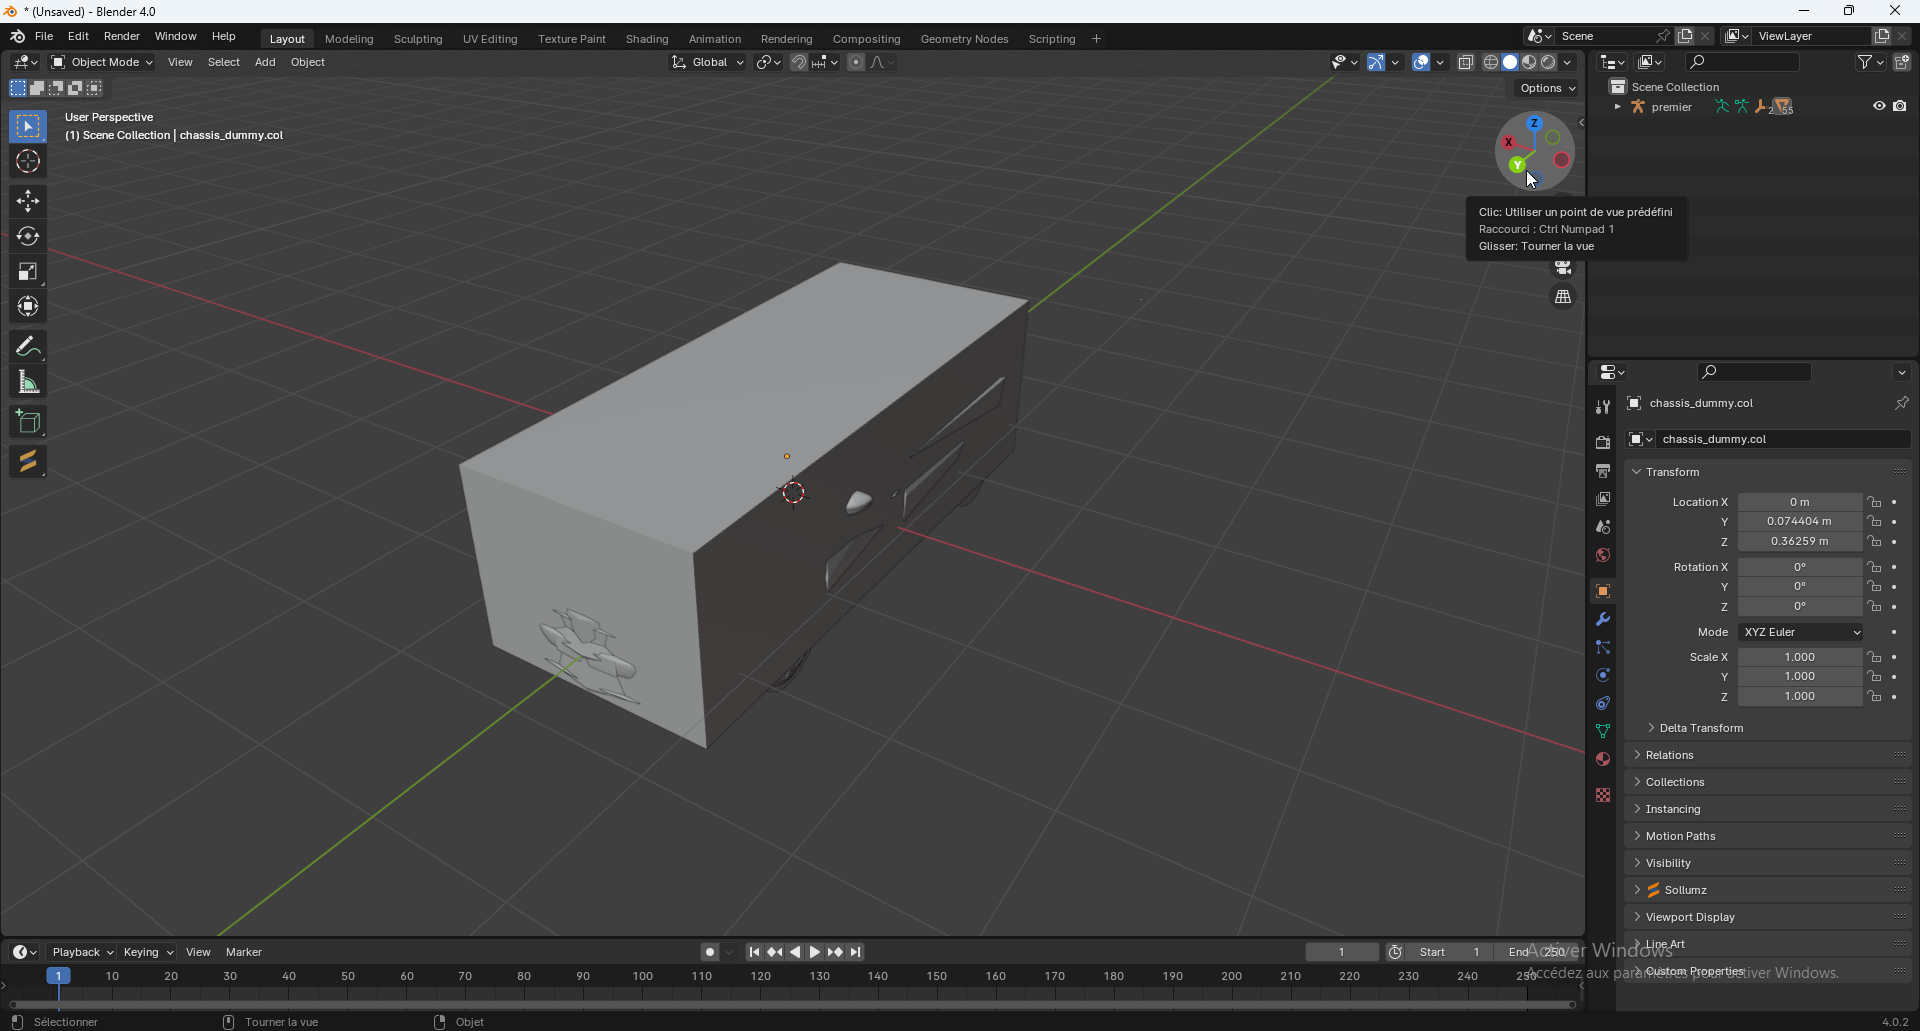
3D Model Opened in Raw Form
Don’t panic! It’s normal if your 3D model is in an ugly gray box—these are just collisions if you imported it from a game or mod. Don’t touch them; we’ll reuse them later. ^^
Once done, press Ctrl + S to save in the "export" folder we created earlier.
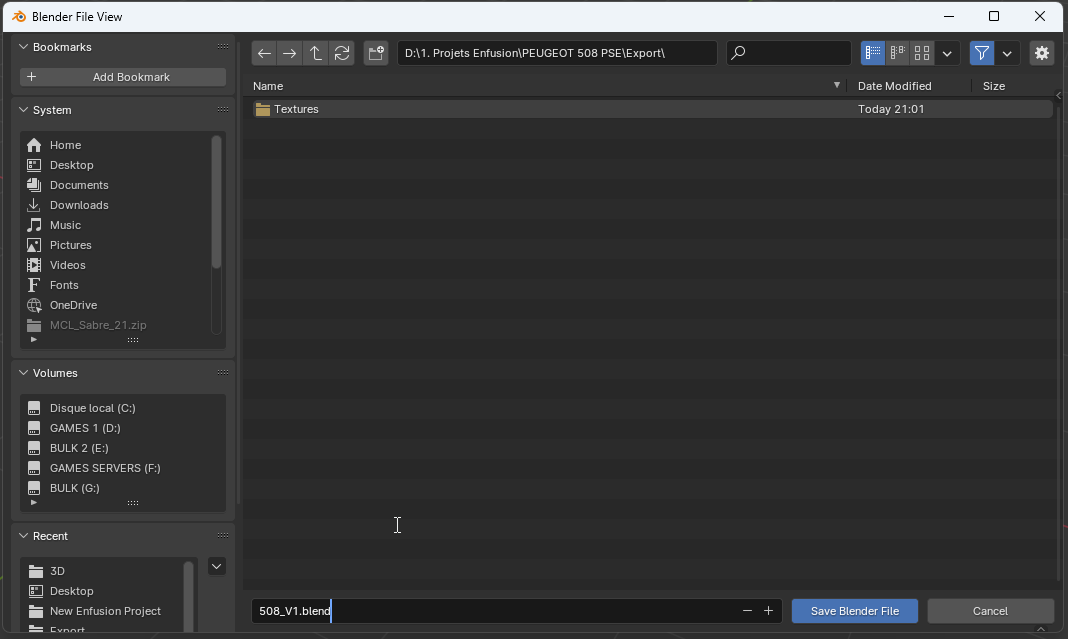
Save the File You're good to go! Scroll down to proceed.
If You Have a Different File (FBX, MTL, OBJ):
Open Blender (4.1) and click on "General."
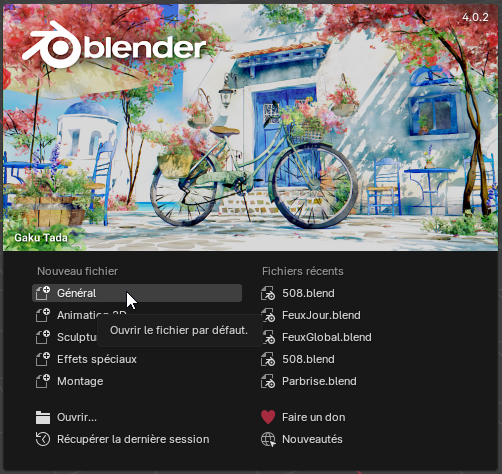
Click on "General" Once Blender is open, select everything in the top left, right-click, and select "Delete."
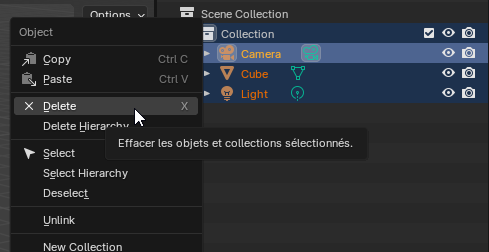
Remove Default Objects Added by Blender
Tip: You can go to "File > Default > Save Startup File" to avoid doing this every time. ^^
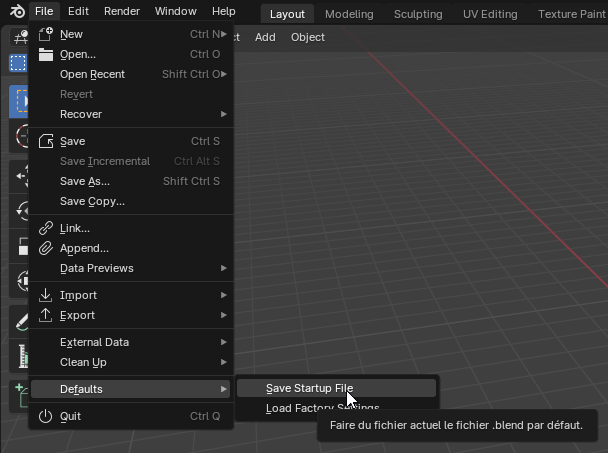
Save the Default File Then, go to File > Import and select the file type of your downloaded 3D model (inlike myUnreal case,Engine FBX).
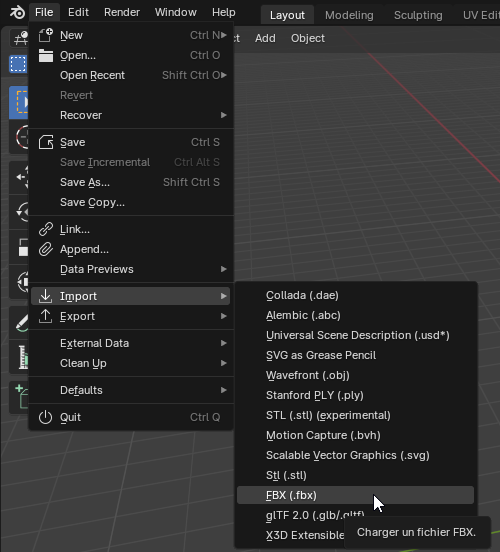
Importor anUnity)With FBX File Once loaded, press Ctrl + Shift + S to save in the export folder we created earlierinterior (thisif steppossible)A mightmanageable takequantity time).
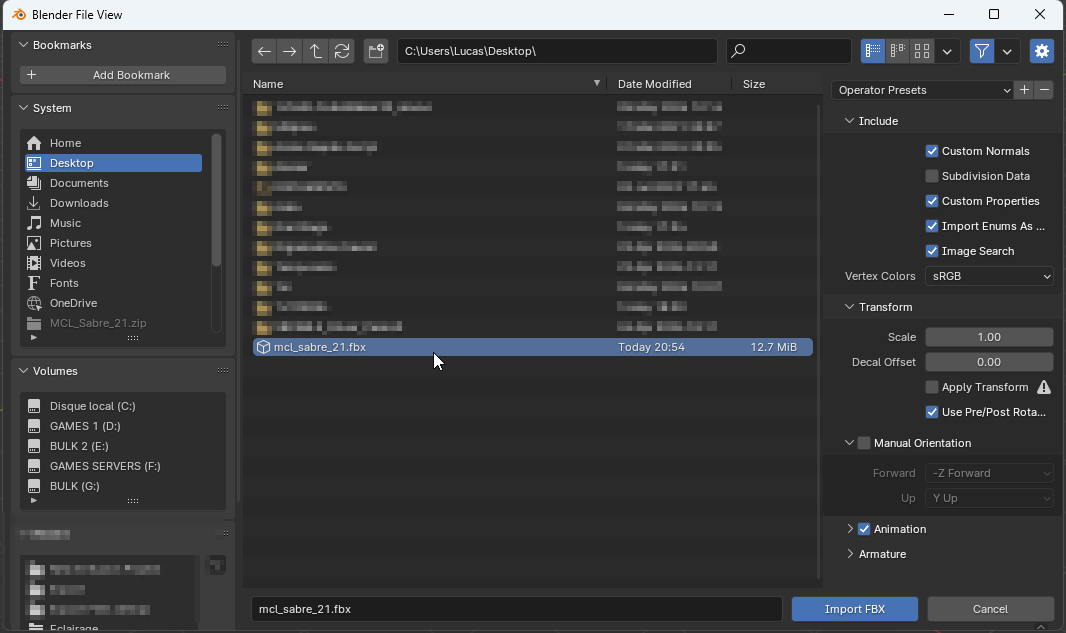
Selectof the FBX File (This Step Might Take Time, Don’t Panic)
Once loaded: Don’t panic! If the model has a big ugly gray box, it’s nothing—it’s just the collisions. Keep them; we’ll be able to reuse them.
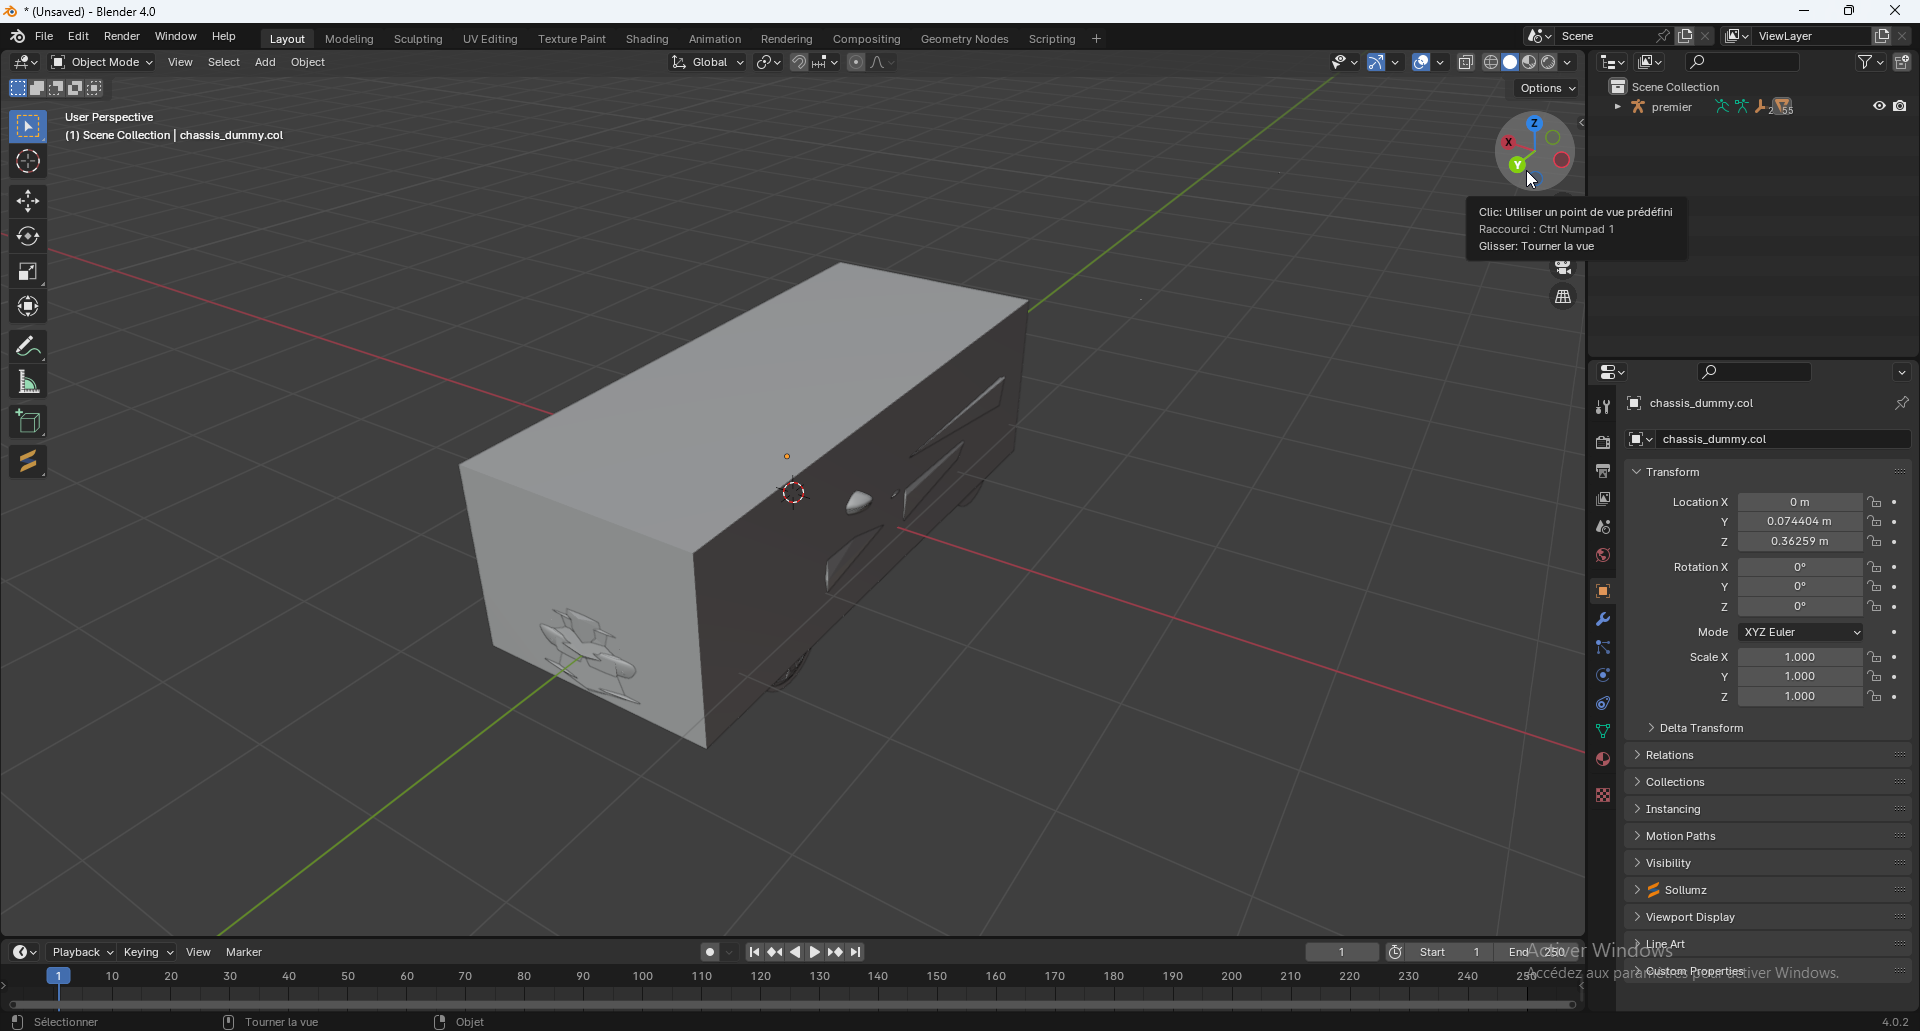
Once your model is loaded, press Ctrl + S to save it in the export folder.
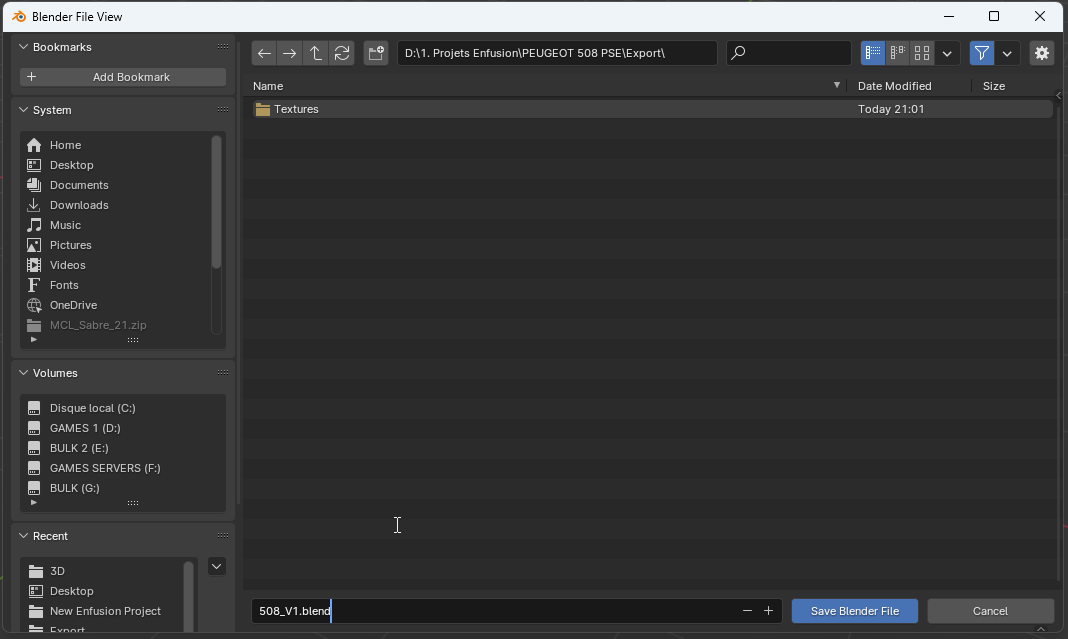
Save in the Export Folder