
Creating the Prefab
Learning to create the car and wheel prefabs and link the windows, wheels, and main model.
WARNING: To modify prefabs, open the Resource Browser, locate your prefab, double-click on it, and click Edit Prefab. From this point, you can modify your vehicle prefab or anything else (press Ctrl + S to save).
To create a prefab, follow this tutorial.
Step 1 - Creating the Prefabs:
- Create the Wheel Prefab
- Create the Main Model Prefab
Creating the Wheel Prefab:
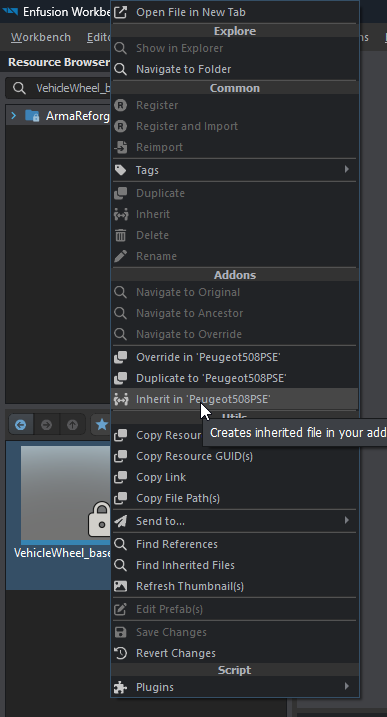
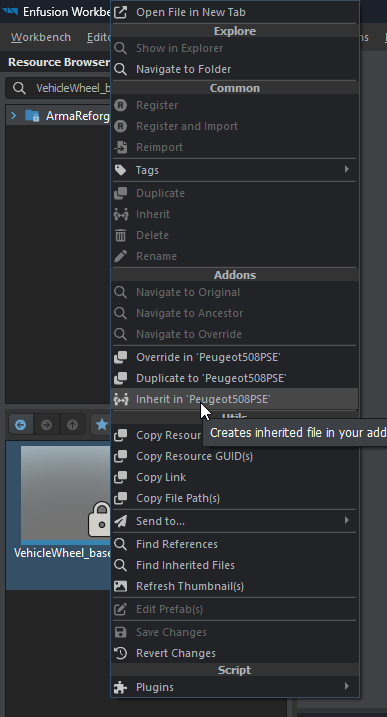
- In the Resource Browser, search for "VehicleWheel_base," right-click, and select Inherit in '...'. Rename it to "yourvehicle_Wheel."
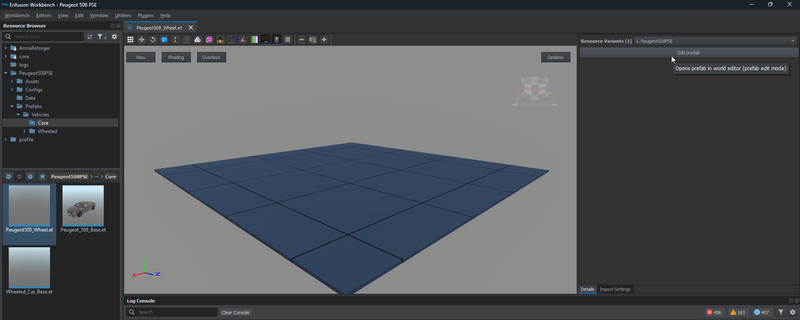
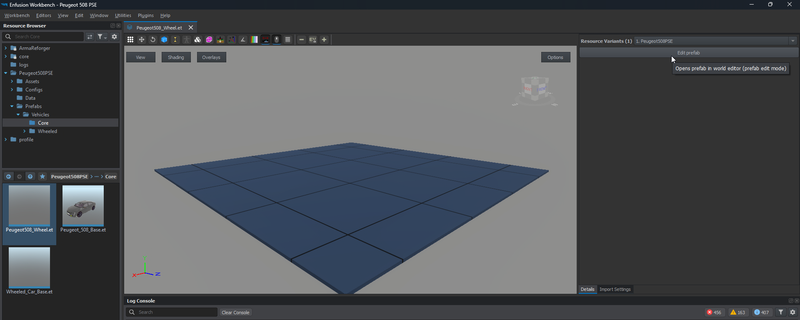
- Go to your addon, navigate to Prefab/core, open the file you just created, and on the right, click on Edit Prefab.
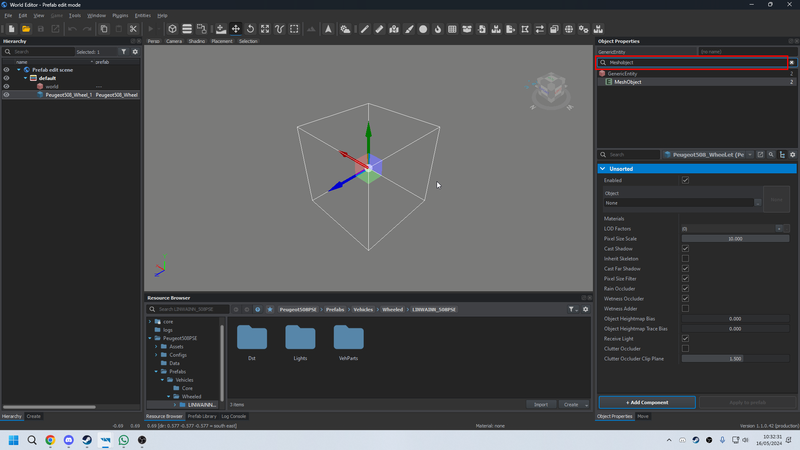
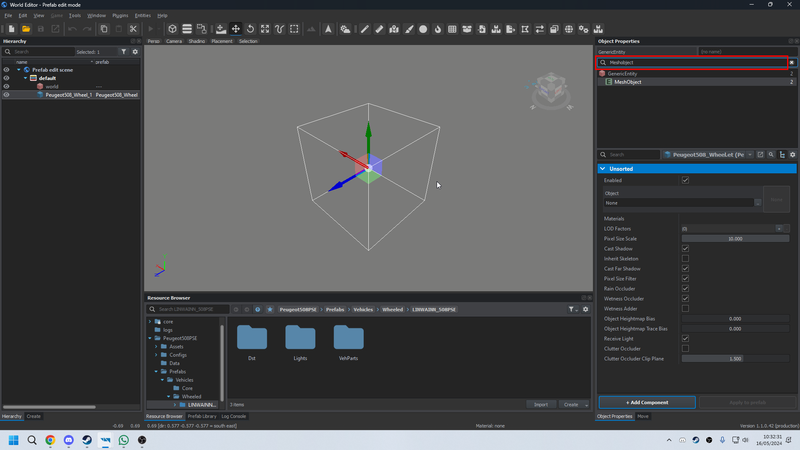
- Once the Prefab Editor is open, search for "MeshObject" in the right-hand search bar.
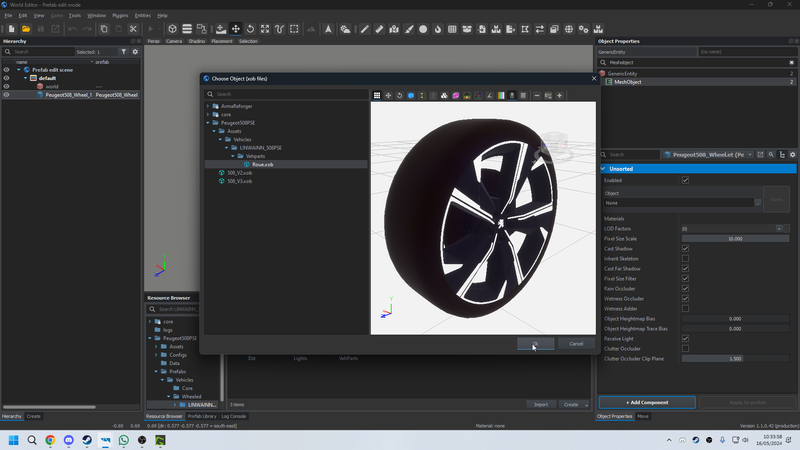
- Under the Object option, locate the
.xobfile for your wheel and click OK to confirm.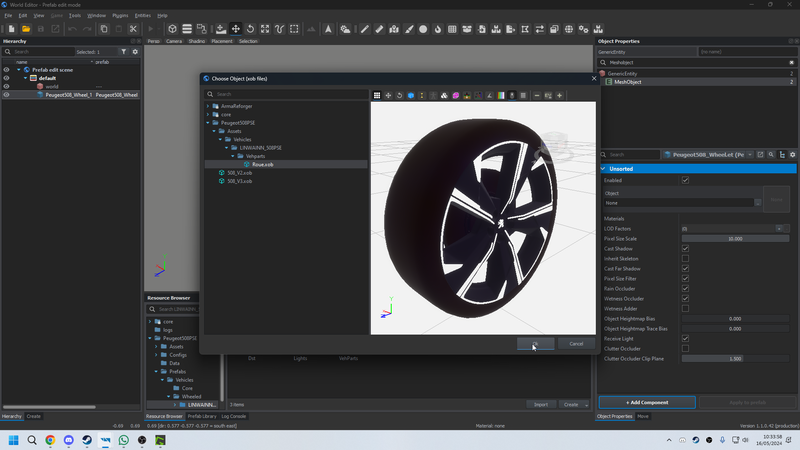
- In the Resource Browser, go to your addon, then prefabs/vehicle/wheeled/youraddonname/Vehparts. Drag the prefab from the left column of the Resource Browser and name the wheel as mentioned above.
- Press Ctrl + S, close the World Editor, and proceed.
Creating the Main Model:
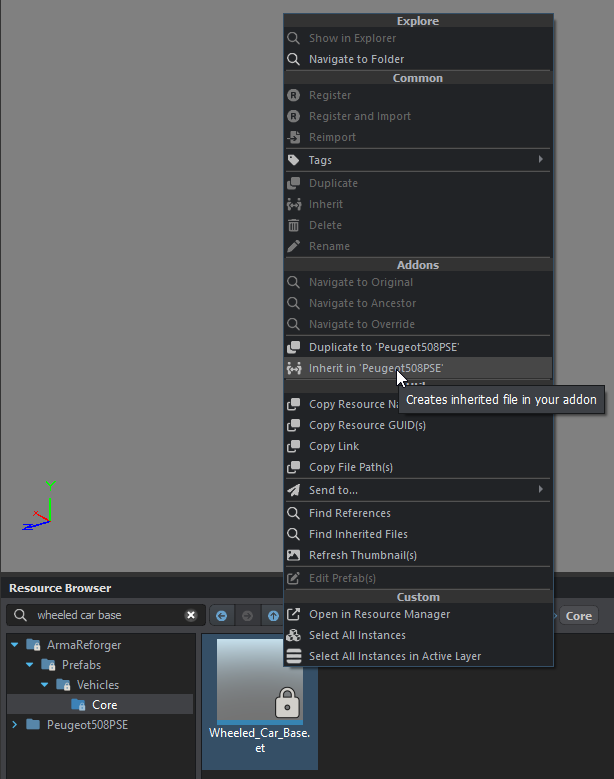
- In the search bar, look for "wheeled car base," (take the base accordding to the vehiucle you are palnned to do) right-click, and select Inherit in '...'
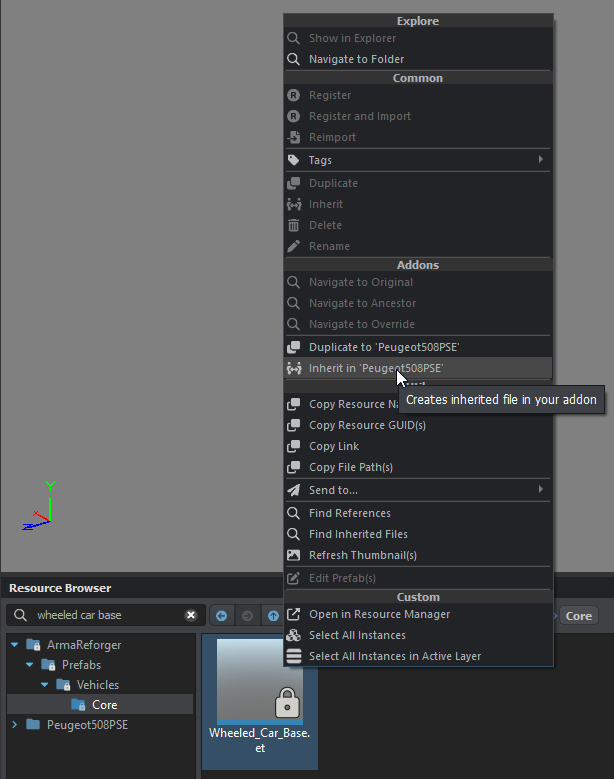
- Rename it with the name of your vehicle, without spaces.
- Clear the current search, select what you just created, open it, and click Edit Prefab.
- Search for "MeshObject" in the right search bar, and in the Object field, select the
.xobfile for your main model.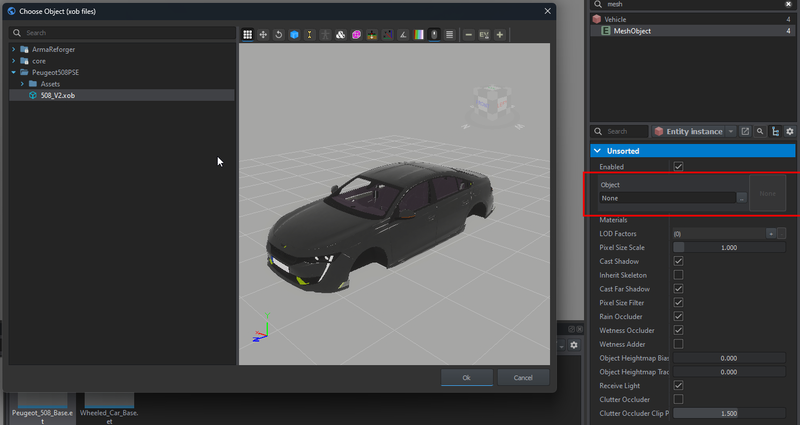
- Click OK.
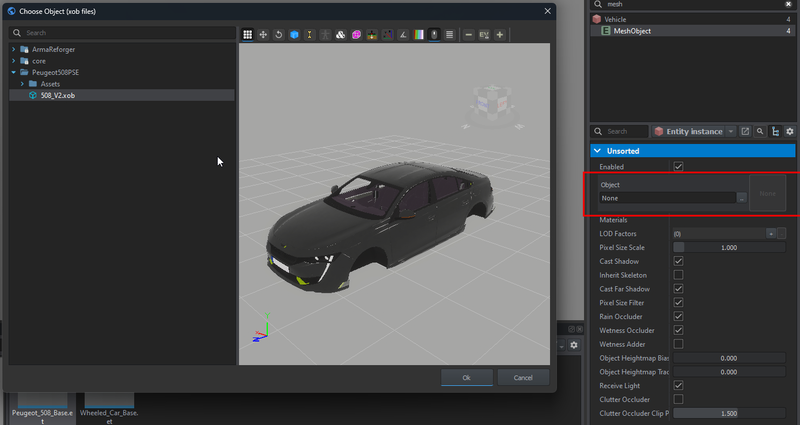
If everything has gone correctly, your 3D model should appear. Save with Ctrl + S and move to the next step.
Step 2 - Attaching the Wheels to the Main 3D Model:
- In the right-hand search bar, search for "SlotManager."
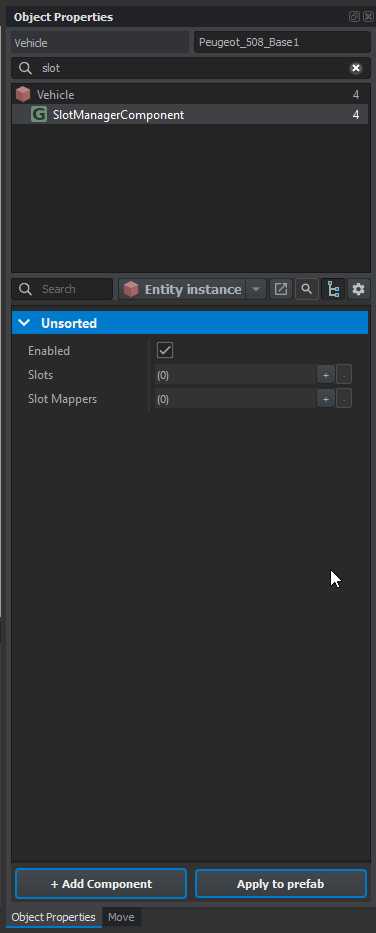
- In the SlotManager component, this is where you will attach your wheels and windows.
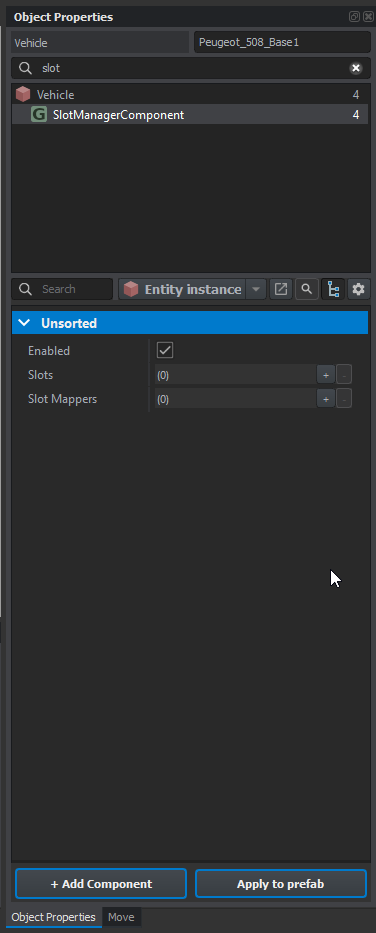
For the Wheels:
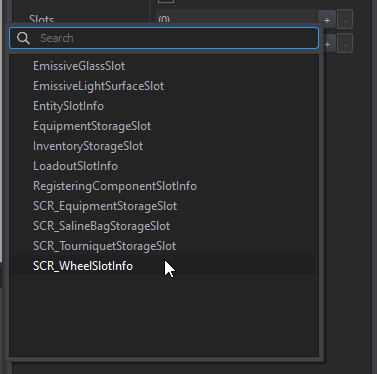
- Click the plus sign and select "SCR_WheelSlotInfo."
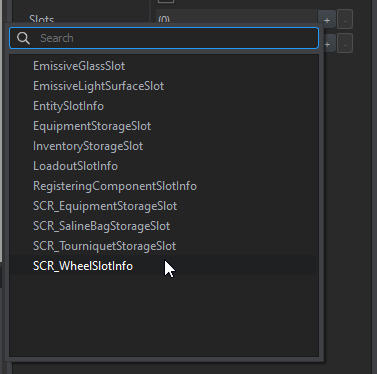
Follow a naming pattern for the wheels:
- "Wheel_L01"
- Wheel for the wheel.
- L for left (Left = L, Right = R).
- 01 for the front left wheel (top = 01, bottom = 02).
Important Vocabulary:
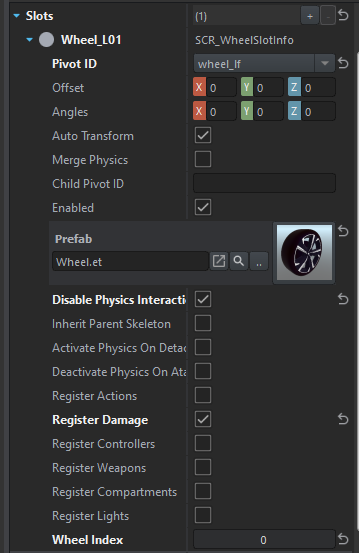
- Pivot ID: Corresponds to the bone name, setting the wheel’s default position.
- Offset: Allows manual adjustment of the wheel’s position.
- Angle: Modifies the wheel’s angle, useful for positioning wheels on the opposite side with a 180° rotation.
- Wheel Index: A code used to identify each wheel.
Starting with the front left wheel, Wheel_L01:
- After creating the slot, activate the Disable Physics Interaction and Register Damage settings. In the prefab box, select the wheel prefab. (to be confirmed)
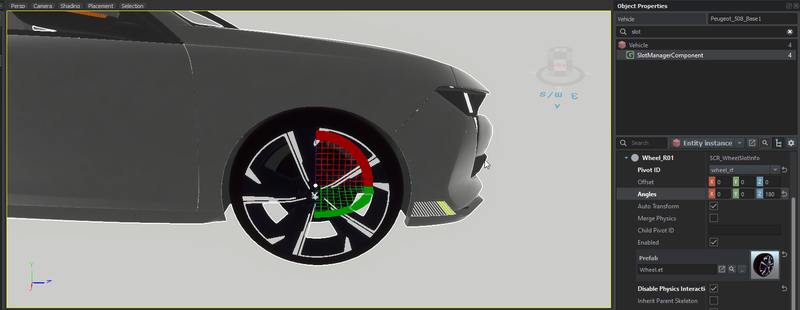
- For the right side, apply a Z-axis rotation of 180° to position it correctly. This will look like:
Wheel Index Codes:
- Front Left: 0
- Front Right: 1
- Rear Left: 2
- Rear Right: 3
Once your wheels are in place, save, and move to the next step.