
Creating Texture Masks in Substance Painter
- Import and Setup
In Substance Painter, go to New → PBR - Metallic Roughness Alpha-blend model → select your FBX → set resolution to 4096.
(you can use the export preference from bohemia: https://github.com/BohemiaInteractive/Arma-Reforger-Misc/tree/main/Art/Substance%20Export%20Profiles) OR you can use my preset export https://drive.google.com/file/d/1f9OWzuCv8zRdU5heMJhle_m5PEqSlm6z/view?usp=drive_link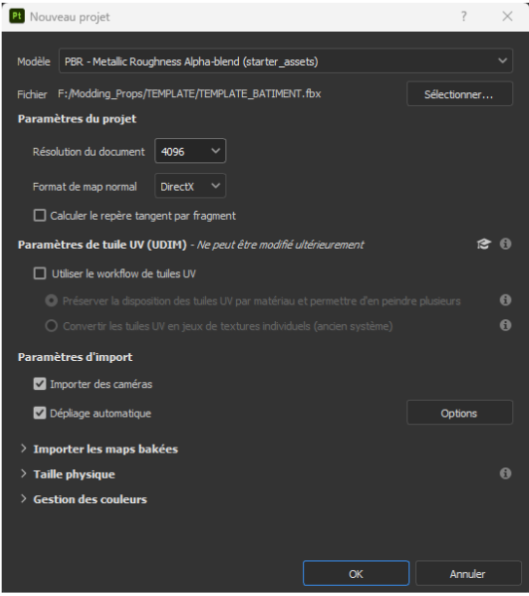
You’ll see two views: the 3D view on the left and the 2D view on the right. At the top right, you’ll find your two materials.
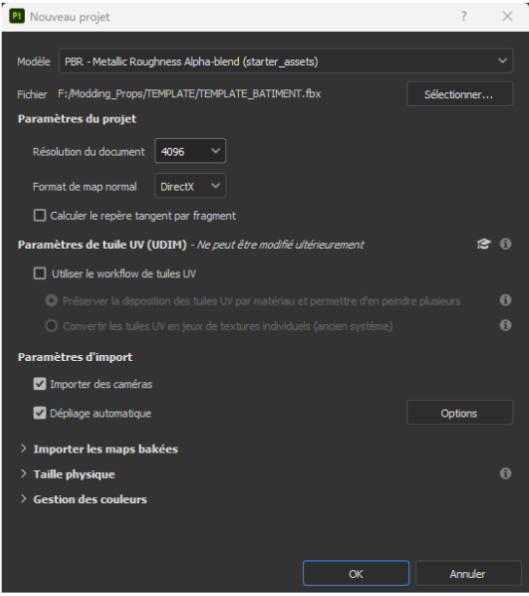
Before starting, set up the Substance project:
- Select a material → Texture Set Settings → Bake Mesh Maps.
- Set the resolution to 4096.
- Check Use Low Poly Mesh.
- Set Antialiasing to x4.
- Choose Match by Mesh Name.
- Bake the selected textures.
Repeat these steps for each material.
- Add User Channels: Add channels for user0, user1, user2, user3, and user4.
- Delete Default Layer: In the Layers panel, delete the default layer.
- Create Folders:
- Create a folder named Mask and add three fill layers. Assign each a black mask and rename them R, G, and B.
- Create another folder named VFX and add two fill layers with black masks, renaming them Rvfx and Gvfx.
- Set User Properties:
- For each layer, go to Properties - Fill and deselect unused user channels.
- Assign channels: R=user0, G=user1, B=user2, Rvfx=user3, Gvfx=user4.
- Create Two Empty Layers: Place them below the existing fill layers.
- For the export mask, set user0, user1, and user2.
- For the export VFX, set user3 and user4.
This setup should be complete and ready for texturing.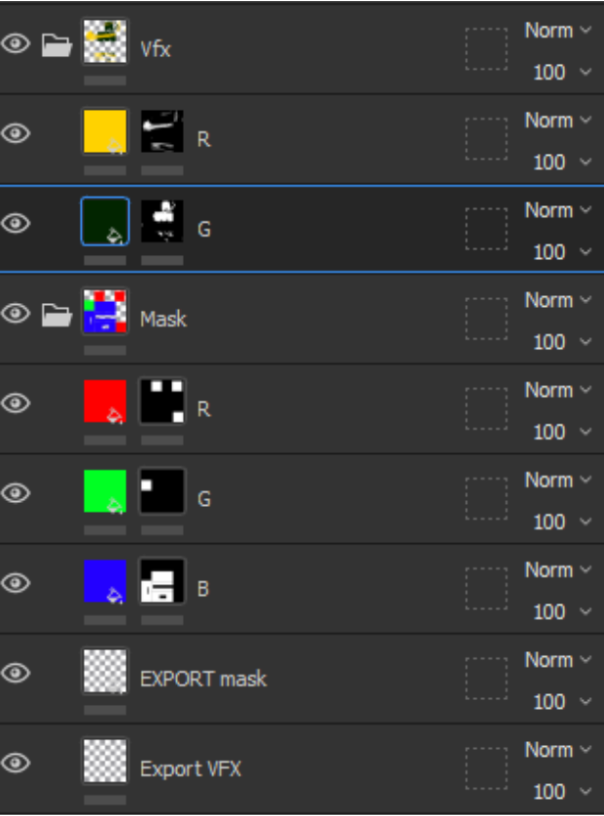
- Object texturing
As mentioned above, a multimat can include:
- One global texture
- Three texture masks
- Two VFX masks
This setup totals six textures. Here, I won’t use Substance Painter's textures, as I’ll apply the vanilla game textures instead. However, the concept remains the same. In this template example, I’ll apply as many details as possible to the faces.
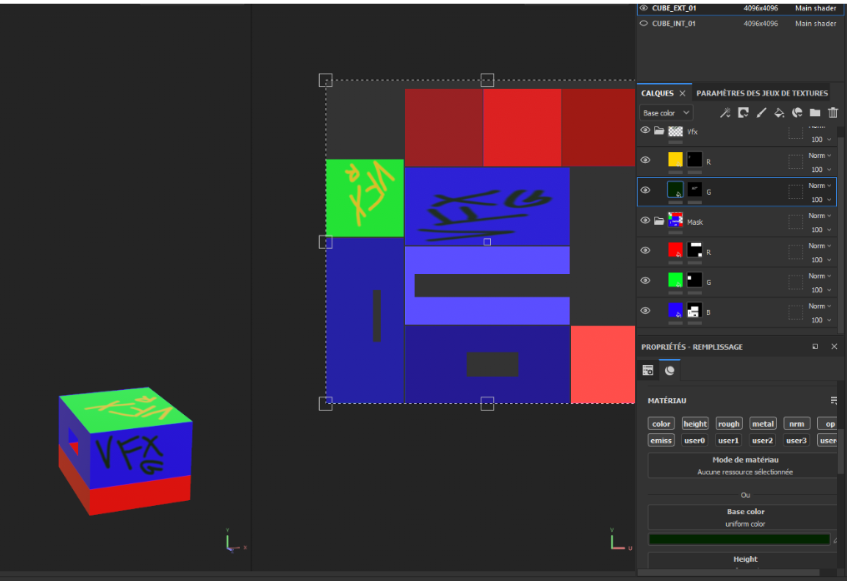
Here, in each layer, I’ve added a base color corresponding to the mask colors, with different colors for the floor, walls, ceiling, and tags on the VFX masks.
c - Export
Once finished, go to File → Export Textures.
Select an output directory → choose the output template “MY PRESET REFORGER.”or "Arma reforger BCR"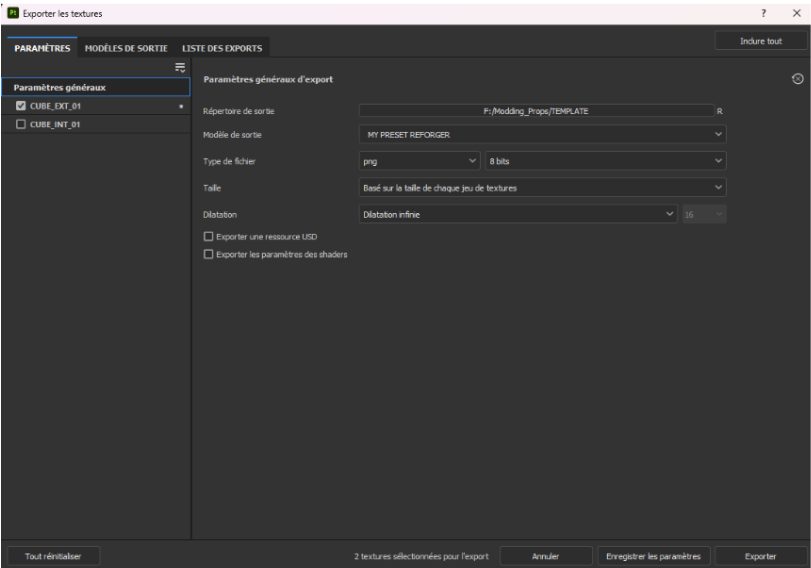
If you select one of the materials (e.g., `CUBE_EXT_01`), you can choose to export specific textures—here, only the VFX and global_mask.
Click *Export* to complete the process.