# Conflict
various help around the conflict scenario
# Change default loadout
When spawning, you can choose the gear you spawn with in the bottom right of the map.
[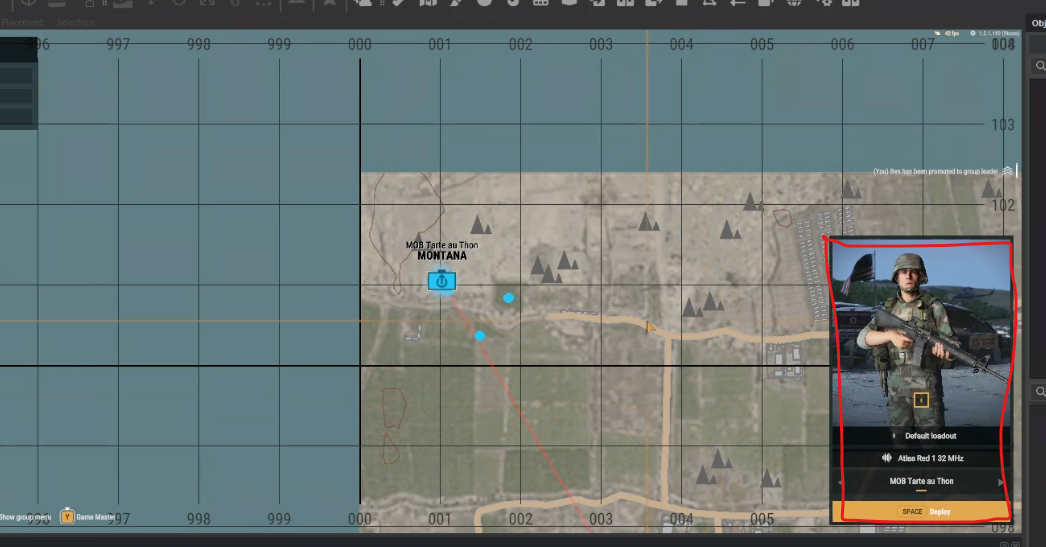](https://wiki.nabla.sh/uploads/images/gallery/2025-02/pUzimage.png)
The gear that new players spawn with is configurable for your scenario.
1\. Open the scenario you are using in your Workbench (make sure to open it with the mod you will be using. For example, RHS if you want to customize the character with RHS outfits, for instance).
[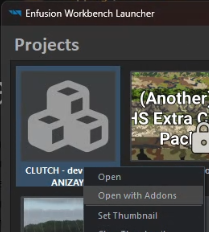](https://wiki.nabla.sh/uploads/images/gallery/2025-02/tZsimage.png)
2. You will override theses prefabs:
[https://enfusionengine.com/api/redirect?to=enfusion://ResourceManager/$ArmaReforger:Prefabs/Characters/Campaign/Final/Campaign\_US\_Player.et](https://enfusionengine.com/api/redirect?to=enfusion://ResourceManager/$ArmaReforger:Prefabs/Characters/Campaign/Final/Campaign_US_Player.et)
[https://enfusionengine.com/api/redirect?to=enfusion://ResourceManager/$ArmaReforger:Prefabs/Characters/Campaign/Final/Campaign\_USSR\_Player.et](https://enfusionengine.com/api/redirect?to=enfusion://ResourceManager/$ArmaReforger:Prefabs/Characters/Campaign/Final/Campaign_USSR_Player.et)
3. Once the overrides are created, you will get prefabs in your mod in the following format:
[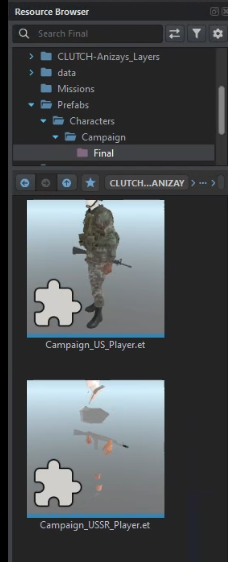](https://wiki.nabla.sh/uploads/images/gallery/2025-02/nYnimage.png)
4. Ouvrer ces prefab dans l'edtiteur en double cliquant dessus et en faisant Edit prefab
[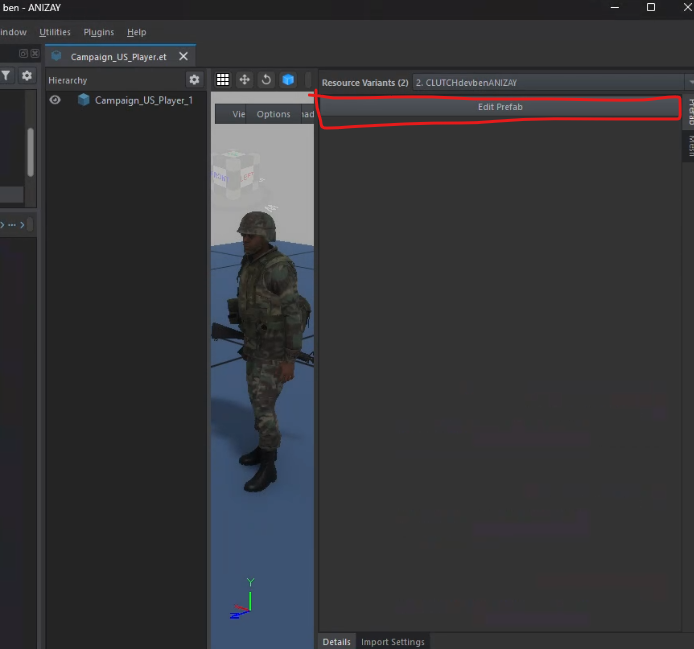](https://wiki.nabla.sh/uploads/images/gallery/2025-02/bIHimage.png)
5. If the ****Edit Prefab**** option is grayed out, it means you haven't opened the prefab you just overrode.
6. Go to the ****BaseLoadoutManagerComponent**** to edit your character's outfit.
If, during testing, an element doesn’t work correctly (e.g., the t-shirt never spawns properly), disable the slot that isn’t functioning and use another slot, such as the glove slot, for the t-shirt instead.
7. Edit the ****CharacterWeaponSlotComponent****
You can change the default weapons your character spawns with. Each component corresponds to a specific slot.
Edit the ****SCR\_CInventoryStorageManagerComponent****
To modify the default items a player spawns with, adjust the slots by adding or modifying the existing prefabs.
****WARNING:**** Check the console to ensure that items are compatible with the slot where you place them.Example: In ****RHS****, if the pouches on the chest have three magazine slots, you can only place three magazines in that slot. Otherwise, you will get an error in the console.
Save everything and test directly in-game.
# Change price of a item in bulding construction
1. You need to override the EditorModeBuilding prefab (in prefab -> editor -> modes). [https://enfusionengine.com/api/redirect?to=enfusion://ResourceManager/$ArmaReforger:Prefabs/Editor/Modes/EditorModeBuilding.et](https://enfusionengine.com/api/redirect?to=enfusion://ResourceManager/$ArmaReforger:Prefabs/Editor/Modes/EditorModeBuilding.et)
2.Find the component ****SCR\_CampaignBuildingPlacingEditorComponent****.[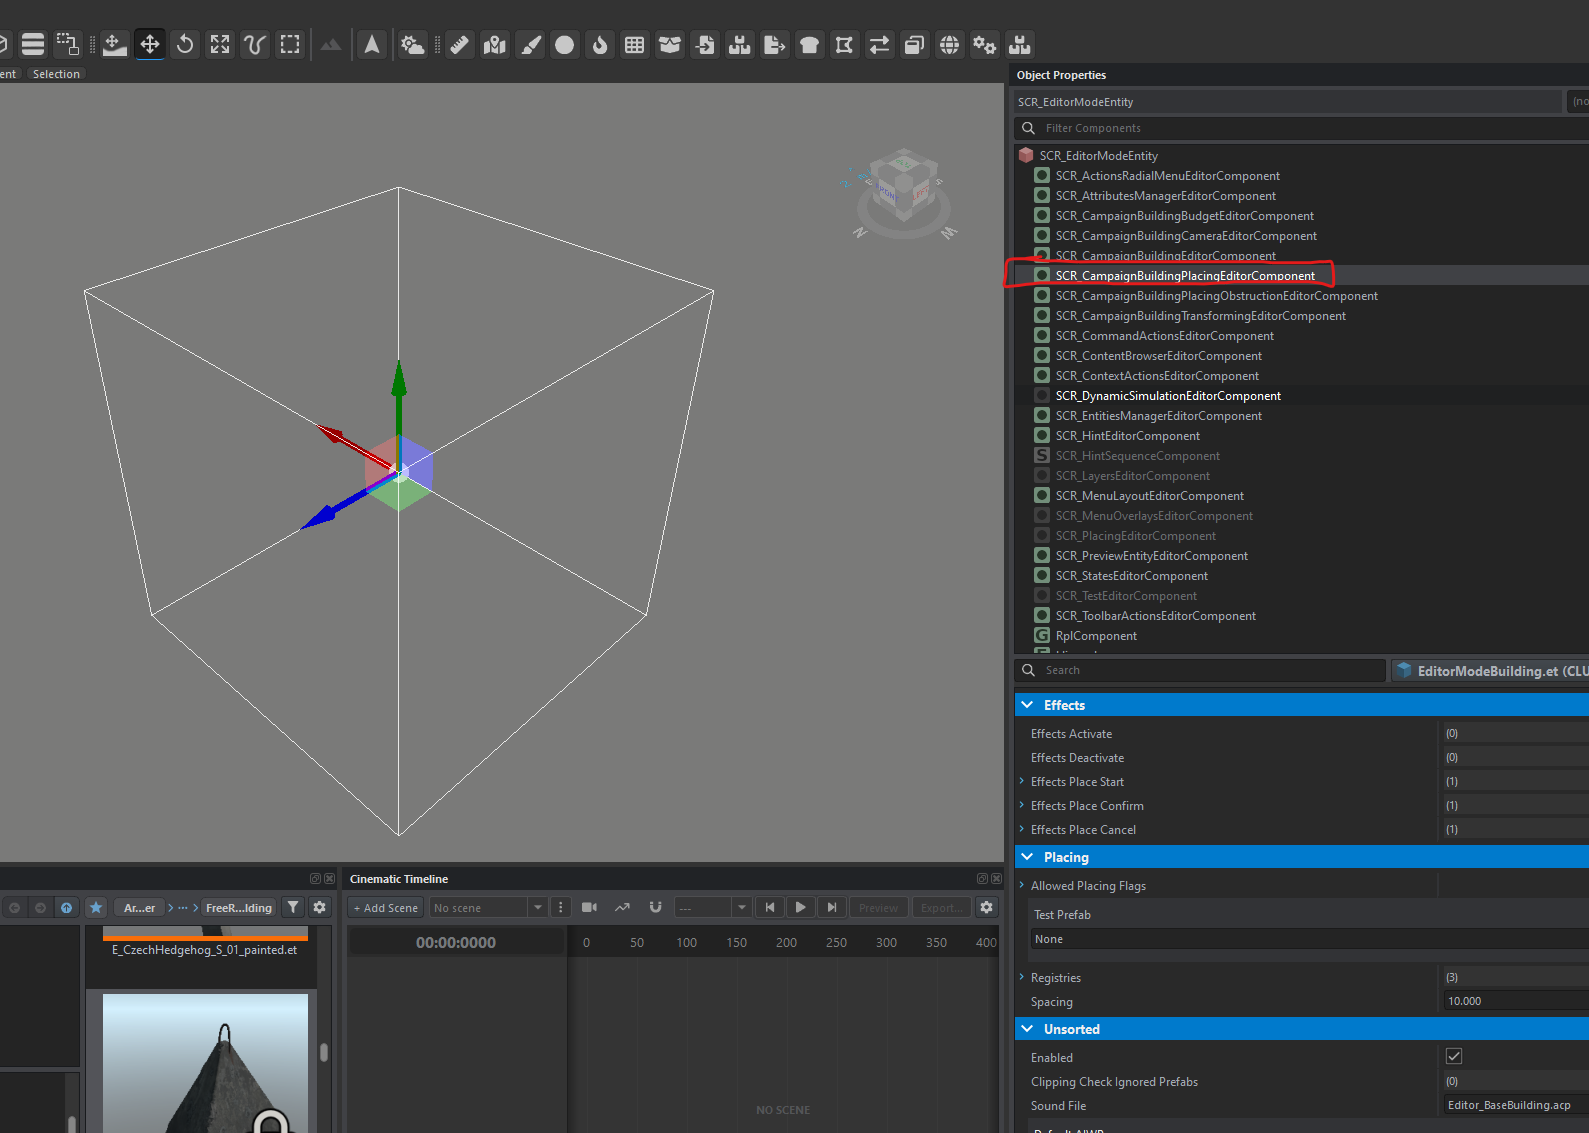](https://wiki.nabla.sh/uploads/images/gallery/2025-03/H9Himage.png)
3. Go to the ****Registries**** line.
[](https://wiki.nabla.sh/uploads/images/gallery/2025-03/02jimage.png)
4. Take the first empty line and expand ****Prefab****.
[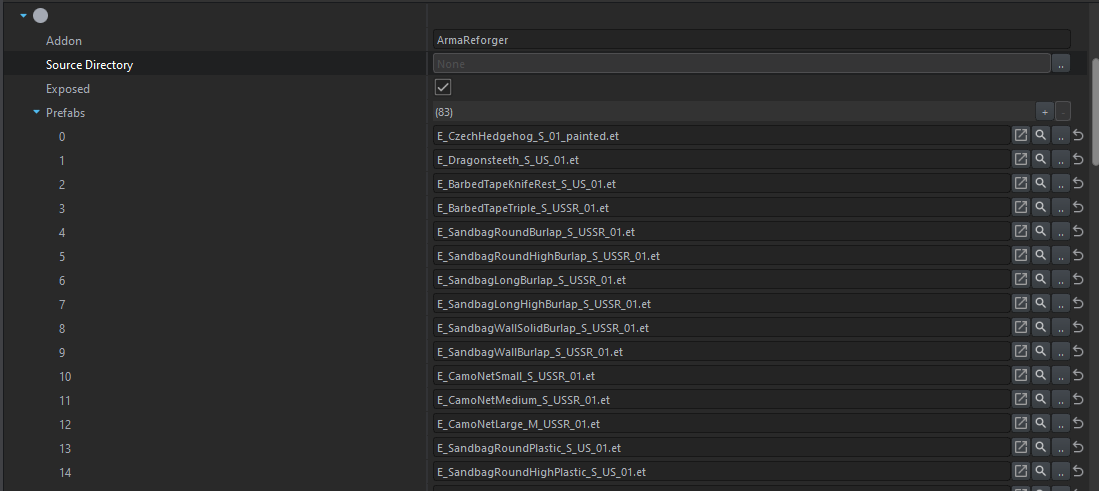](https://wiki.nabla.sh/uploads/images/gallery/2025-03/G0uimage.png)
Here, you will find the list of all placeable compositions in construction mode.
5.Press the magnifying glass to locate the composition you want to modify.
[](https://wiki.nabla.sh/uploads/images/gallery/2025-03/tWjimage.png)
6\. dans notre exemple on va prendre la dent de dragon, vous allez alors override la composition en faisant clique droit sur l'objet et overire
[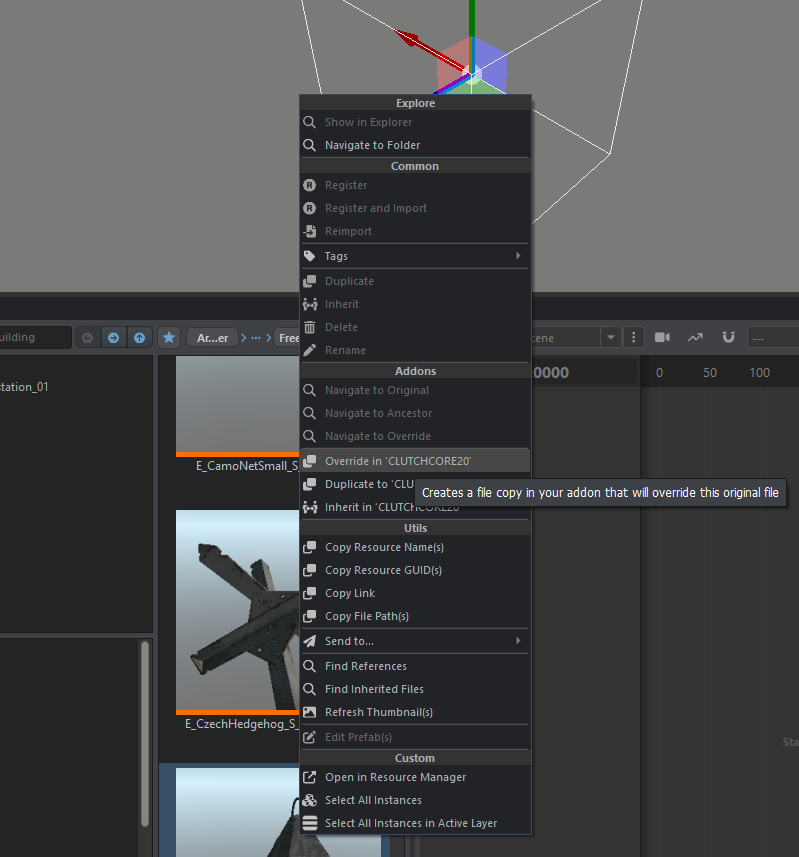](https://wiki.nabla.sh/uploads/images/gallery/2025-03/lI5image.png)
7. Edit the ****Prefab****.
[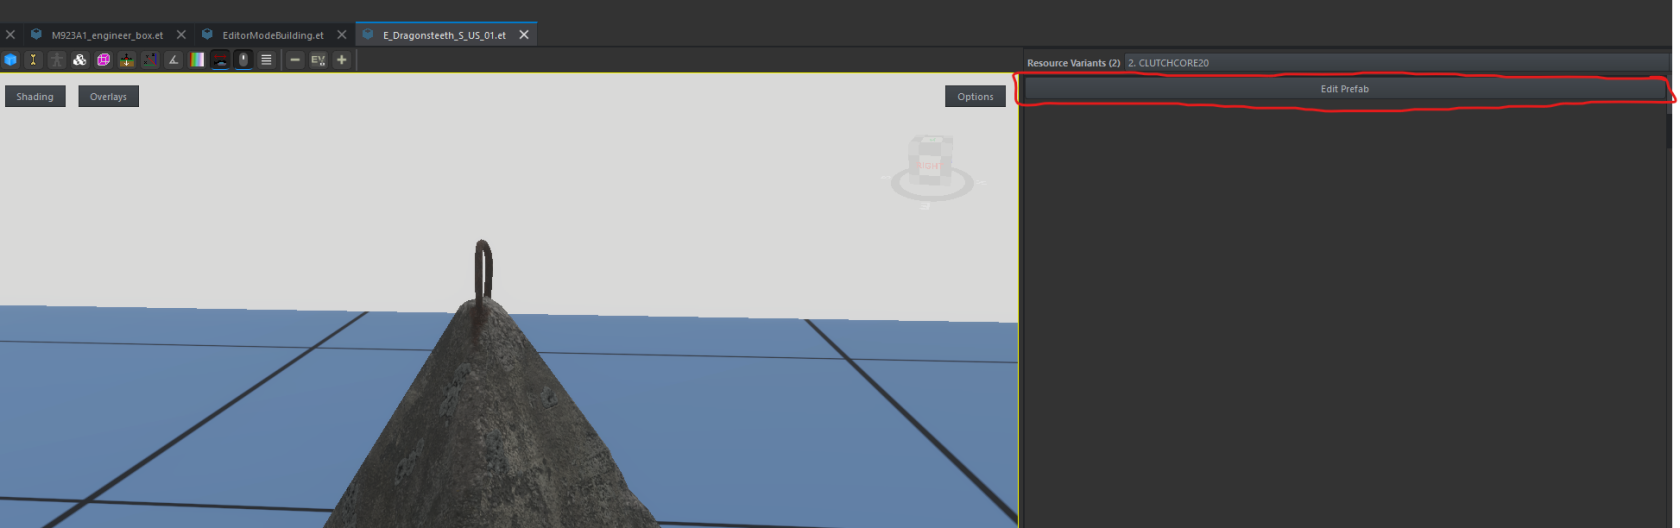](https://wiki.nabla.sh/uploads/images/gallery/2025-03/lRhimage.png)
8. Go to the ****SCR\_EditableEntityComponent**** component.
[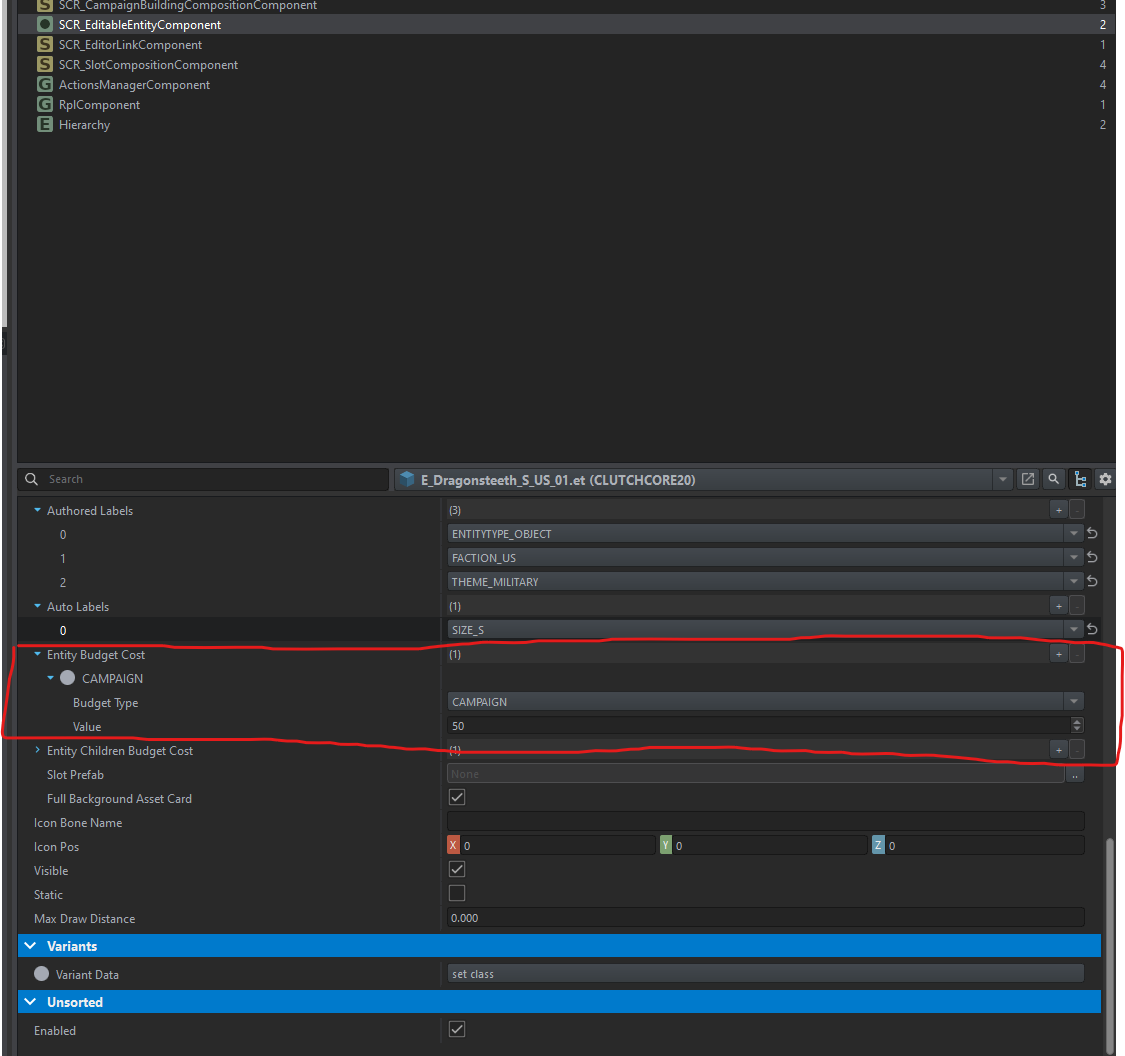](https://wiki.nabla.sh/uploads/images/gallery/2025-03/qljimage.png)
# Modify the zone of detection of the supply point (marker green supply on map)
the goal is to see the green suply icon on the map
In reforger there is a parameter to set which distance from a point a supply could be seen on map
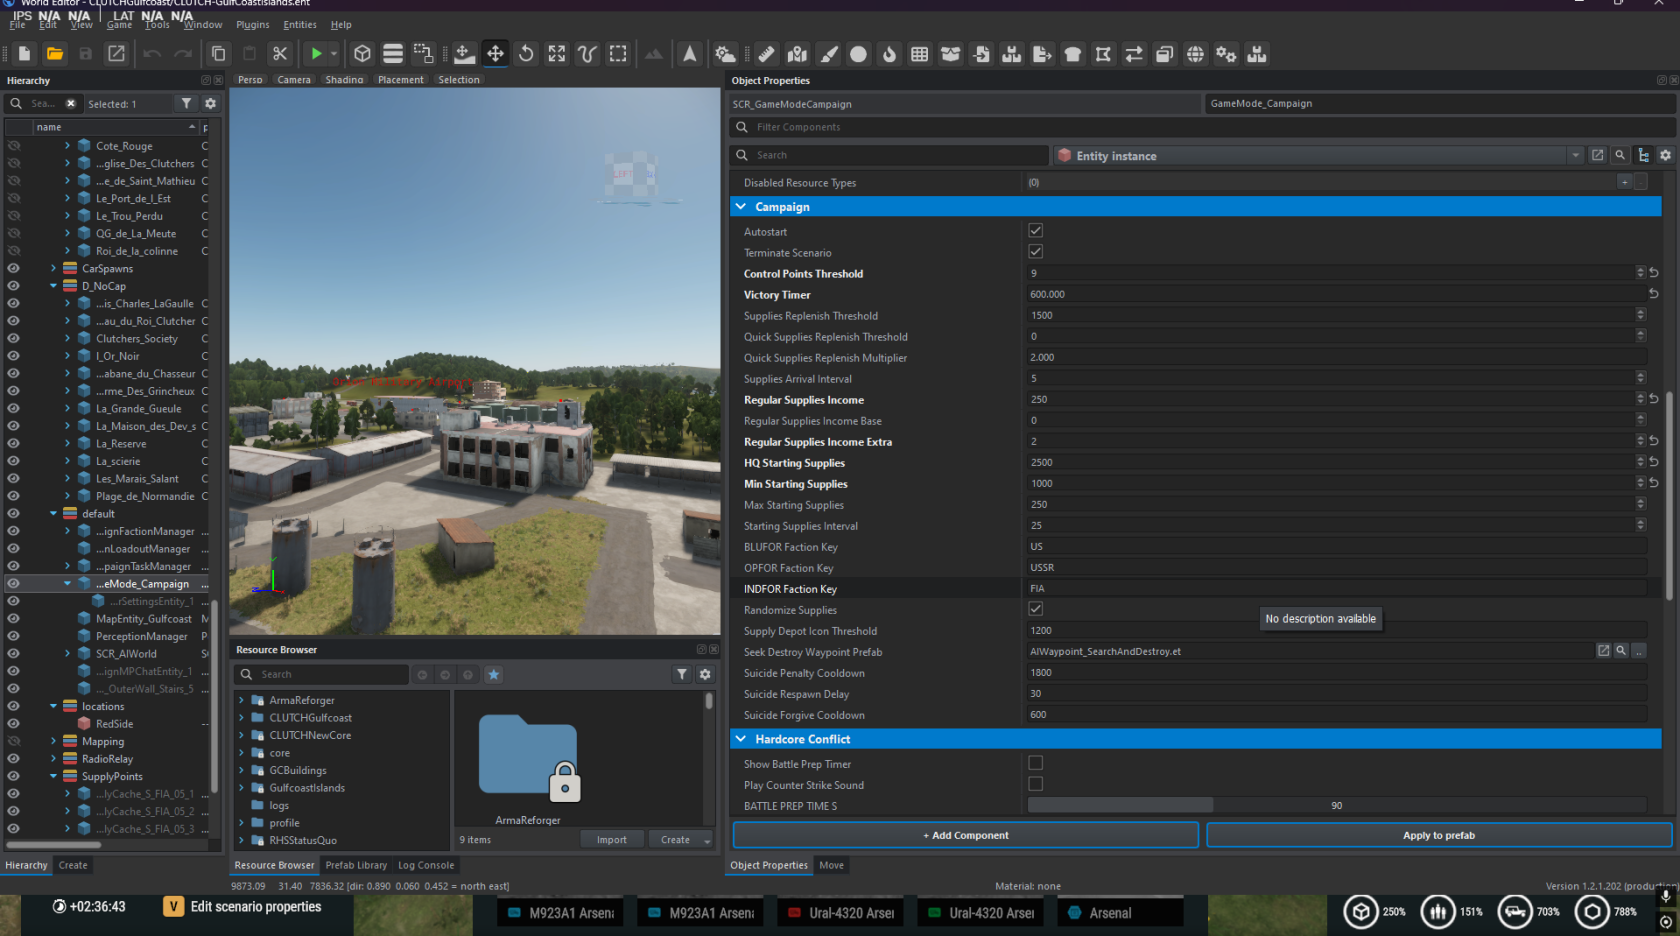
1.Go to SCR\_GameModeCampaign
2.Go to the Campaign tab
[](https://wiki.nabla.sh/uploads/images/gallery/2025-03/NcKimage.png)
3\. Modify the line Supply Depot Icon Thershold
[](https://wiki.nabla.sh/uploads/images/gallery/2025-03/gOrimage.png)