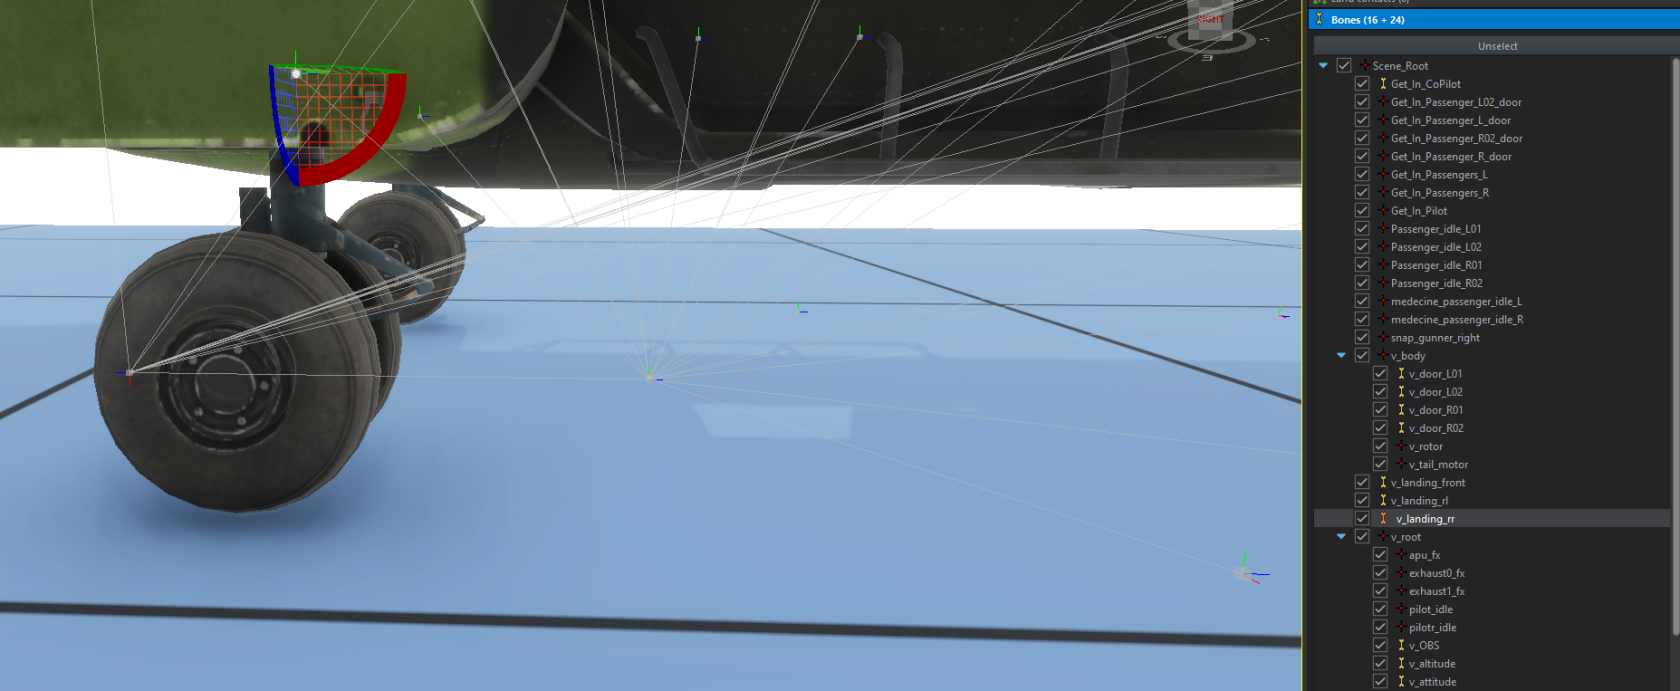
To make the animation, a bone and a vertex group must be created. In the tutorial, the bone that will make the wheel move will be called “v\_landing\_rr” (you can of course name it anything you like).
[](https://wiki.nabla.sh/uploads/images/gallery/2024-11/mpximage.png) ### ****2.**** ****Procedural animation files****You can find these two files attached at the bottom of this tutorial, you have the right to use them freely (you can credit us if you wish 👍).
[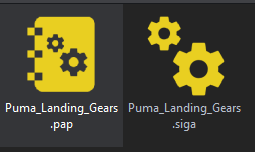](https://wiki.nabla.sh/uploads/images/gallery/2024-11/yoEimage.png) You can place them in “{YOUR\_ADDON}/anims”.Tips: By clicking in the background, you can define an example model, and with the “signal simulation” window, you can test your animation live. [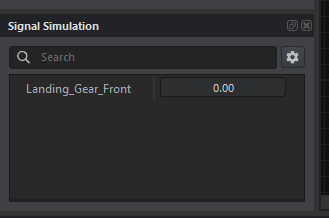](https://wiki.nabla.sh/uploads/images/gallery/2024-11/9uGimage.png)
Reminder: For the script to be taken into account, it must be located in at least one “scripts/Game/UserActions” folder.
Create a script file in this directory called “SCR\_CarTrunkUserAction.c”, open it and put this in it: ``` //French Reforger Mod - Landing Gears tutorial class SCR_TrunkUserAction : ScriptedUserAction { [Attribute(defvalue: "Drawer 1", uiwidget: UIWidgets.EditBox, desc: "Signal name of trunk action in procedural animation project")] protected string m_sSignalName; //for pairing with the user action [Attribute(defvalue: "0", uiwidget: UIWidgets.EditBox, desc: "Value of signal when trunk is closed")] protected float m_fSignalMin; [Attribute(defvalue: "1", uiwidget: UIWidgets.EditBox, desc: "Value of signal when trunk is opened")] protected float m_fSignalMax; [Attribute(defvalue: "Open", uiwidget: UIWidgets.EditBox, desc: "Text for the 'Open' action")] protected string m_sOpenText; // Texte pour l'action "Open" [Attribute(defvalue: "Close", uiwidget: UIWidgets.EditBox, desc: "Text for the 'Close' action")] protected string m_sCloseText; // Texte pour l'action "Close" [Attribute(defvalue: "SOUND_CONTAINER_OPEN", uiwidget: UIWidgets.EditBox, desc: "Sound event name when opening")] protected string m_sOpenSoundEvent; // Événement sonore pour l'ouverture [Attribute(defvalue: "SOUND_CONTAINER_CLOSE", uiwidget: UIWidgets.EditBox, desc: "Sound event name when closing")] protected string m_sCloseSoundEvent; // Événement sonore pour la fermeture protected int m_iSignalIndex = -1; //! Signal manager to pass signals into proc anim private SignalsManagerComponent m_SignalsManager; //! Sound component private SCR_VehicleSoundComponent m_SoundComponent; //------------------------------------------------------------------------------------------------ override bool CanBeShownScript(IEntity user) { return CanBePerformedScript(user); } //------------------------------------------------------------------------------------------------ override bool CanBePerformedScript(IEntity user) { if(!m_SignalsManager) return false; if (m_iSignalIndex < 0) { m_iSignalIndex = m_SignalsManager.FindSignal(m_sSignalName); return false; } return true; } //--------------------------------------------------------- override void PerformAction(IEntity pOwnerEntity, IEntity pUserEntity) { float targetValue = Math.AbsFloat((m_SignalsManager.GetSignalValue(m_iSignalIndex)) - m_fSignalMax); m_SignalsManager.SetSignalValue(m_iSignalIndex, targetValue); // Play sound if (m_SoundComponent) { if(targetValue > 0) { m_SoundComponent.SoundEvent(m_sOpenSoundEvent); // Utilise l'événement sonore défini pour l'ouverture } else { m_SoundComponent.SoundEvent(m_sCloseSoundEvent); // Utilise l'événement sonore défini pour la fermeture } } } //------------------------------------------------------------------------------------------------ override bool GetActionNameScript(out string outName) { if((m_SignalsManager.GetSignalValue(m_iSignalIndex)) == 0) { outName = m_sOpenText; // Utilise le texte défini pour l'ouverture } else { outName = m_sCloseText; // Utilise le texte défini pour la fermeture } return true; } //------------------------------------------------------------------------------------------------ override void Init(IEntity pOwnerEntity, GenericComponent pManagerComponent) { m_SignalsManager = SignalsManagerComponent.Cast(pOwnerEntity.FindComponent(SignalsManagerComponent)); m_SoundComponent = SCR_VehicleSoundComponent.Cast(pOwnerEntity.FindComponent(SCR_VehicleSoundComponent)); } } ```Once you've done this tutorial, you can restart the workbench and if you've done everything right, the wheels should move. Now it's up to you to make sure they do ^^.
### ****5. Setup the custom sound of the animation**** First you will have to create the audio file of your futur sound to be called use the one provide in this tutorial [landinggear.acp](https://wiki.nabla.sh/attachments/3) put the file in a sound folder and open it \- change the sound that need to be played you will need to have a .wav file and import it in the Workbench [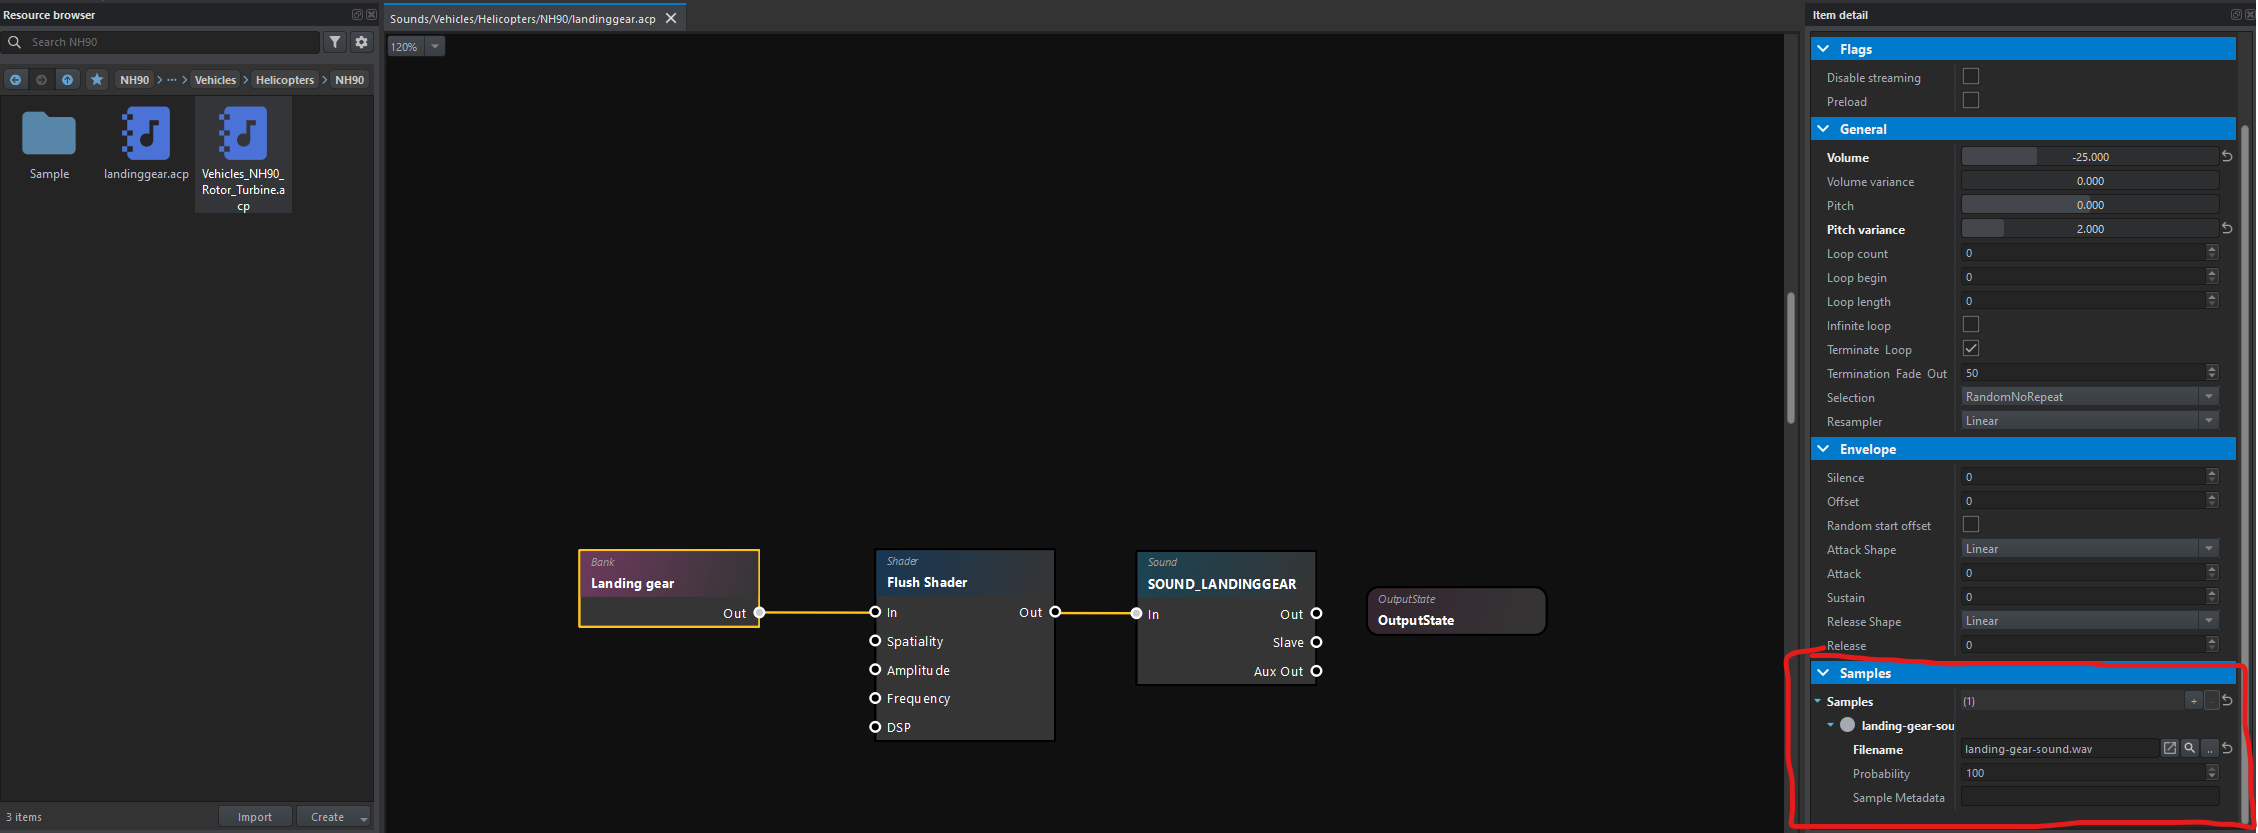](https://wiki.nabla.sh/uploads/images/gallery/2024-12/mekimage.png) Change the name of the event sound name [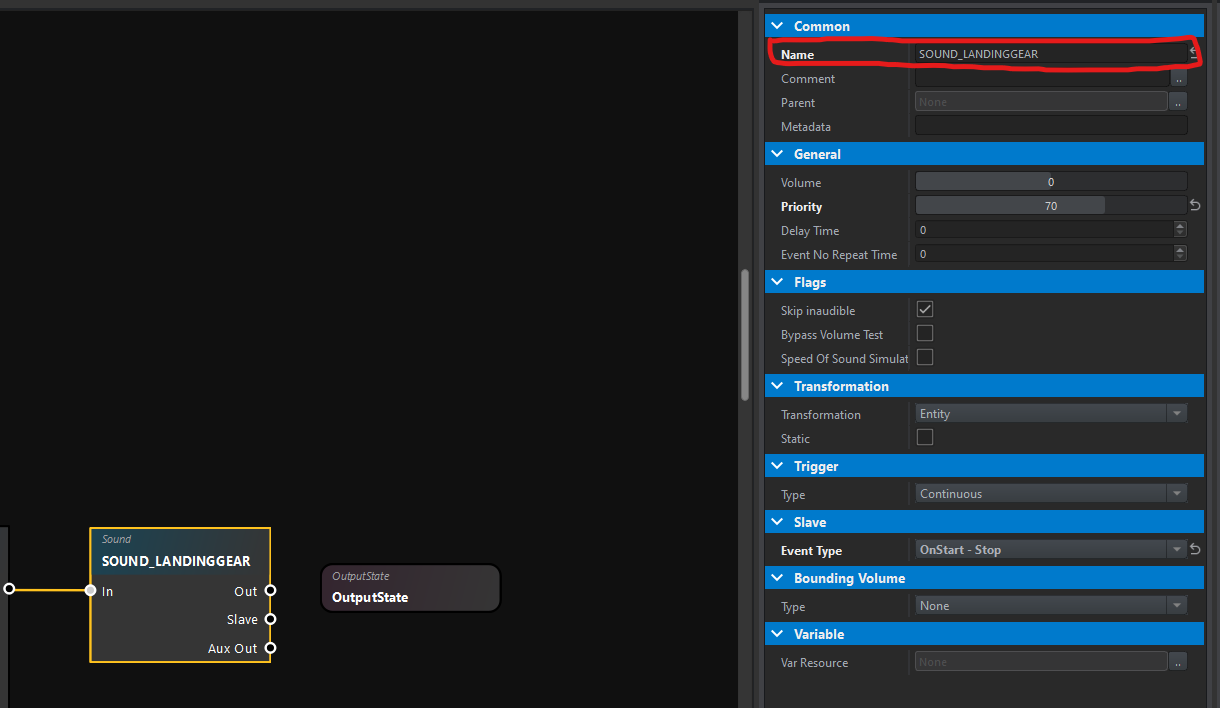](https://wiki.nabla.sh/uploads/images/gallery/2024-12/yOOimage.png) \- add the file to the vehicleIt's important to add the sound file to the sound component of your vehicule !
[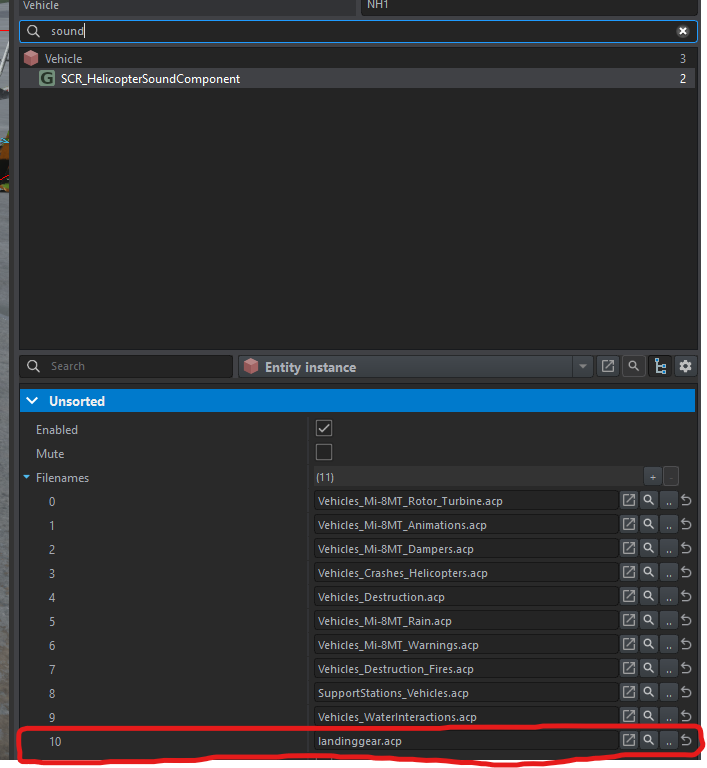](https://wiki.nabla.sh/uploads/images/gallery/2024-12/4weimage.png) \- add the name of you sound event in the component Trunkaction [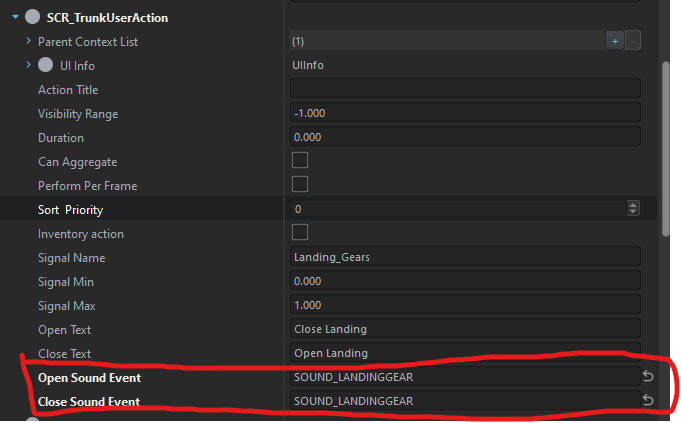](https://wiki.nabla.sh/uploads/images/gallery/2024-12/9PLimage.png) # Camo Net