# UV creation in blender
This process will start in Blender, then move to Substance Painter, and finally Enfusion Tool.
I recommend using textures at 4096 or even 8192 resolution for higher quality and precision in Substance. In the Reforger tool, you can later downscale textures to 2048 if needed.
#### UV Creation in Blender
1. ****Separate Faces by Material for Easier UV Creation****
Select **LOD0** → **Edit Mode** → select all faces → P “by material”.
2. ****Adding Seams****
Seams help control how textures are applied to objects. For instance, with a cube, if unfolded, you have six faces. Without seams, the texture will apply uniformly. With seams on all edges, the cube splits into six squares.
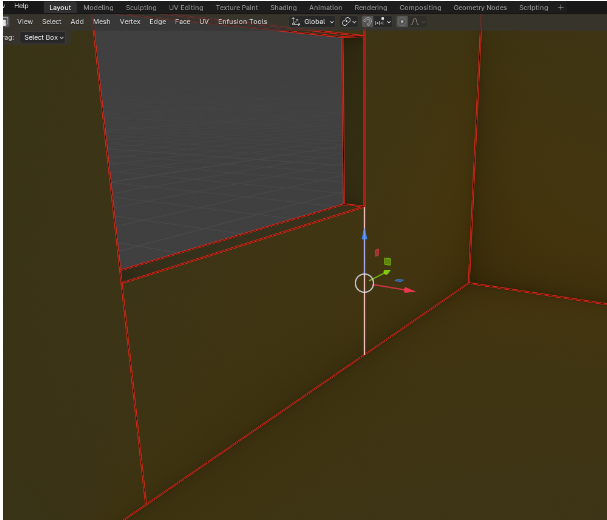
- To create a seam, select edges → right-click → **Mark Seam**.
[](https://wiki.nabla.sh/uploads/images/gallery/2024-11/OV4image.png)
****PRO TIP:**** In this example, I selected everything and created seams, but I don’t want interior wall seams (e.g., under windows). So, select those specific edges → right-click → **Clear Seam**.
3. ****Creating UVs****
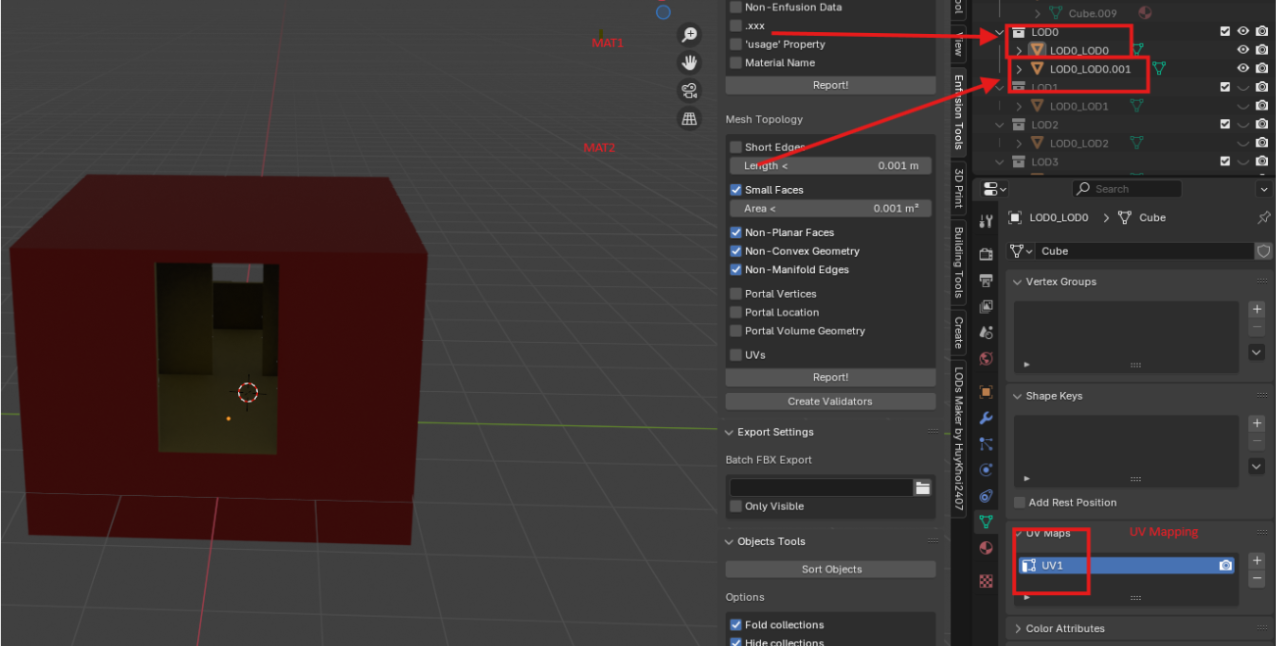
UVs unfold the 3D model (e.g., a cube with six faces). Start by renaming the UV map for both materials (which remain separate).
[](https://wiki.nabla.sh/uploads/images/gallery/2024-11/9FOimage.png)
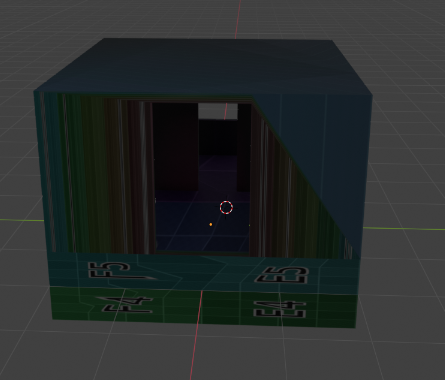
- For better visibility, go to each material, click the yellow circle next to **Base Color** → **Image Texture** → **New** → **Generate Type** → **Color Grid**.
[](https://wiki.nabla.sh/uploads/images/gallery/2024-11/3j9image.png)
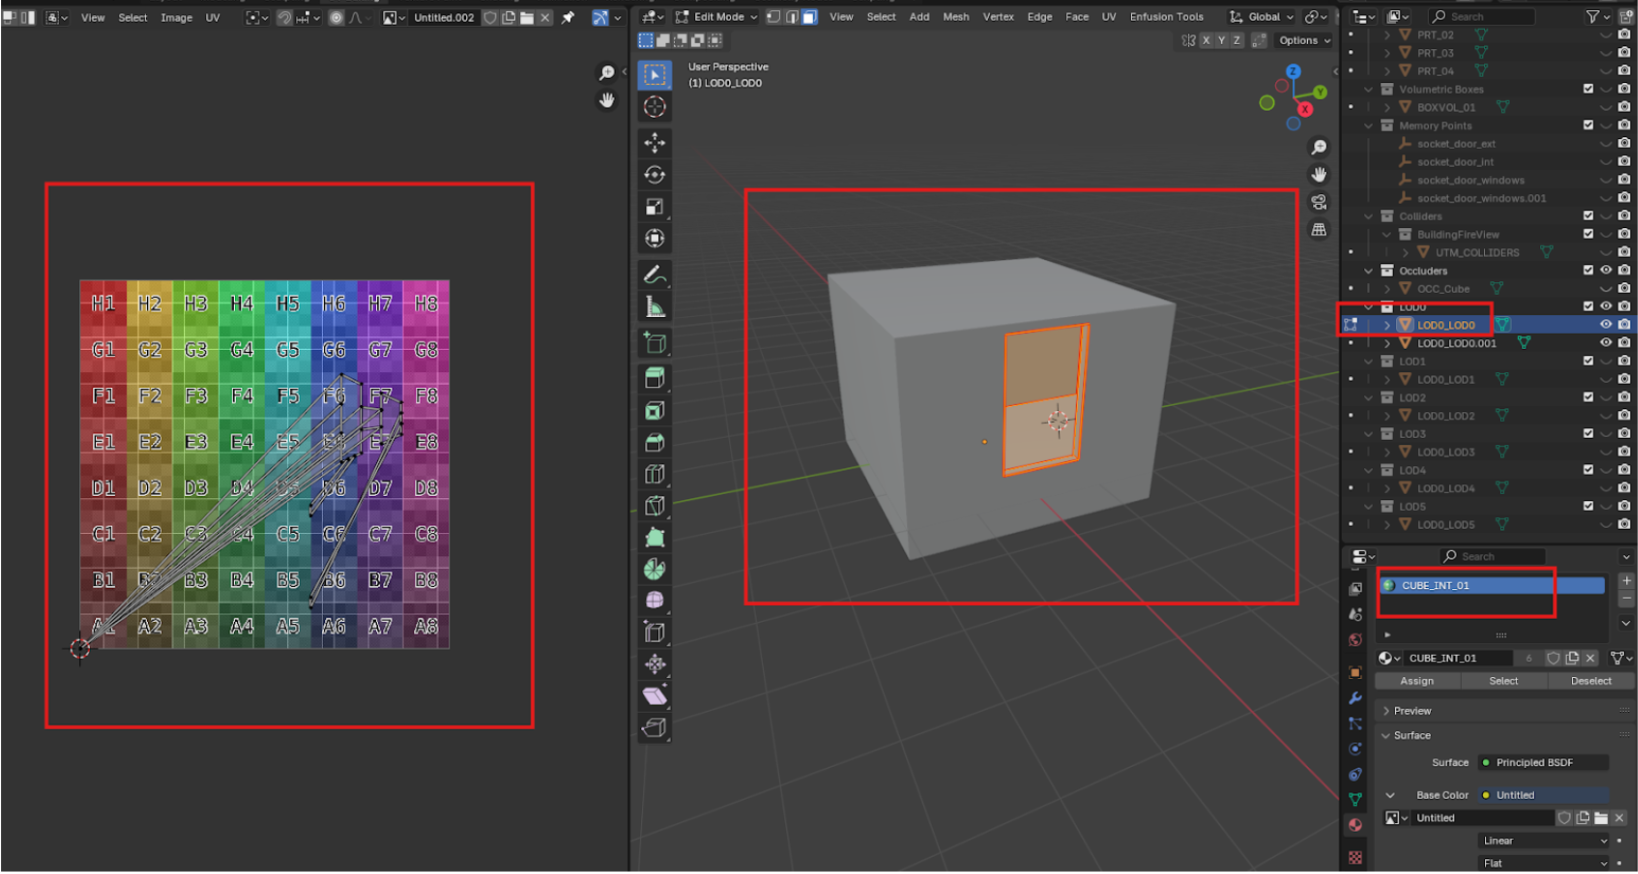
- Click **UV Editing** (top menu) → **New** (4096x4096) → **Color Grid**. A colored grid will appear on the left.
A colored grid has appeared on the left.
Now, when I select all faces in Edit Mode for a single material, I get a completely broken UV layout.
[](https://wiki.nabla.sh/uploads/images/gallery/2024-11/lg7image.png)
Select all faces in **Edit Mode** of a single material. If the UV is misaligned:
- Press ****U → Reset****, then ****U → Unwrap**** to correct it.
[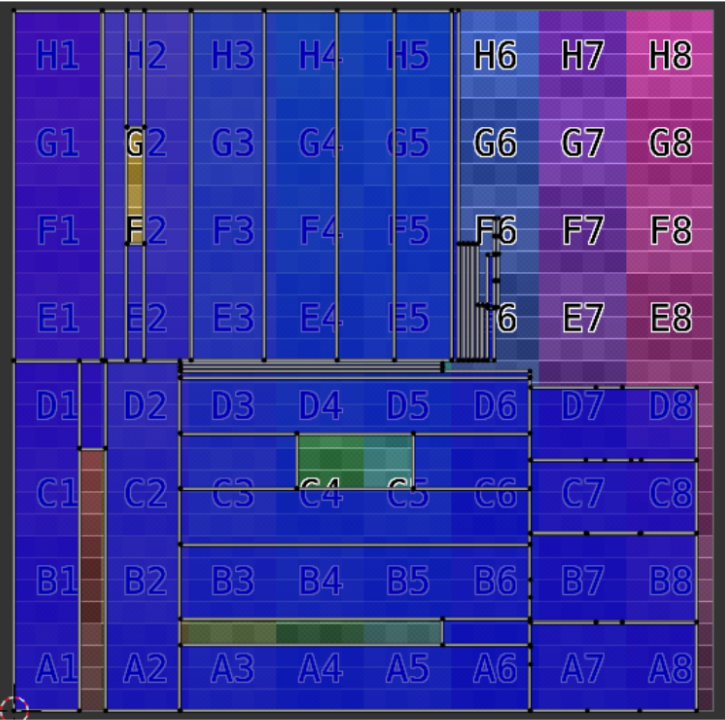](https://wiki.nabla.sh/uploads/images/gallery/2024-11/Wuyimage.png)
You can also use UVPackmaster3:
- After resetting and unwrapping, click ****A**** (to select all) in the left window → **Pack**.
[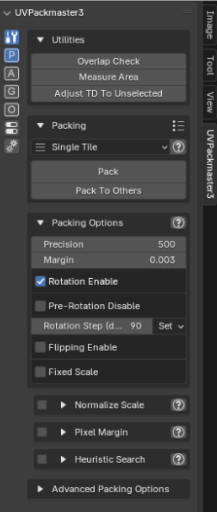](https://wiki.nabla.sh/uploads/images/gallery/2024-11/6mHimage.png)
Do the same things for each material
4. ****Verification****
Once UVs are set, return to **Layout** and verify that the grid squares aren’t stretched.
[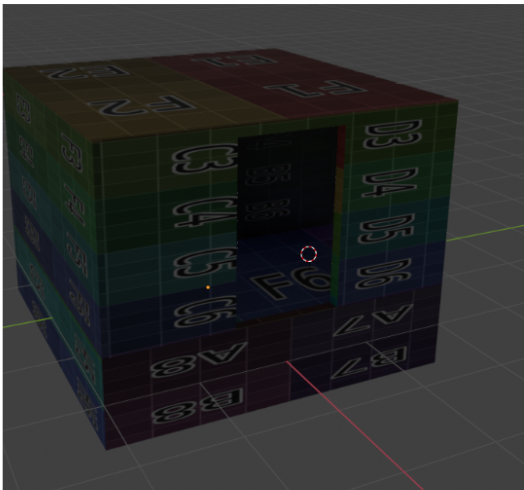](https://wiki.nabla.sh/uploads/images/gallery/2024-11/8Dximage.png)
5. ****Export****
Before exporting, select all materials and join them to the same LOD with ****Ctrl + D****. Export the FBX with only **LOD0**.