UV creation in blender
This process will start in Blender, then move to Substance Painter, and finally Enfusion Tool.
I recommend using textures at 4096 or even 8192 resolution for higher quality and precision in Substance. In the Reforger tool, you can later downscale textures to 2048 if needed.
UV Creation in Blender
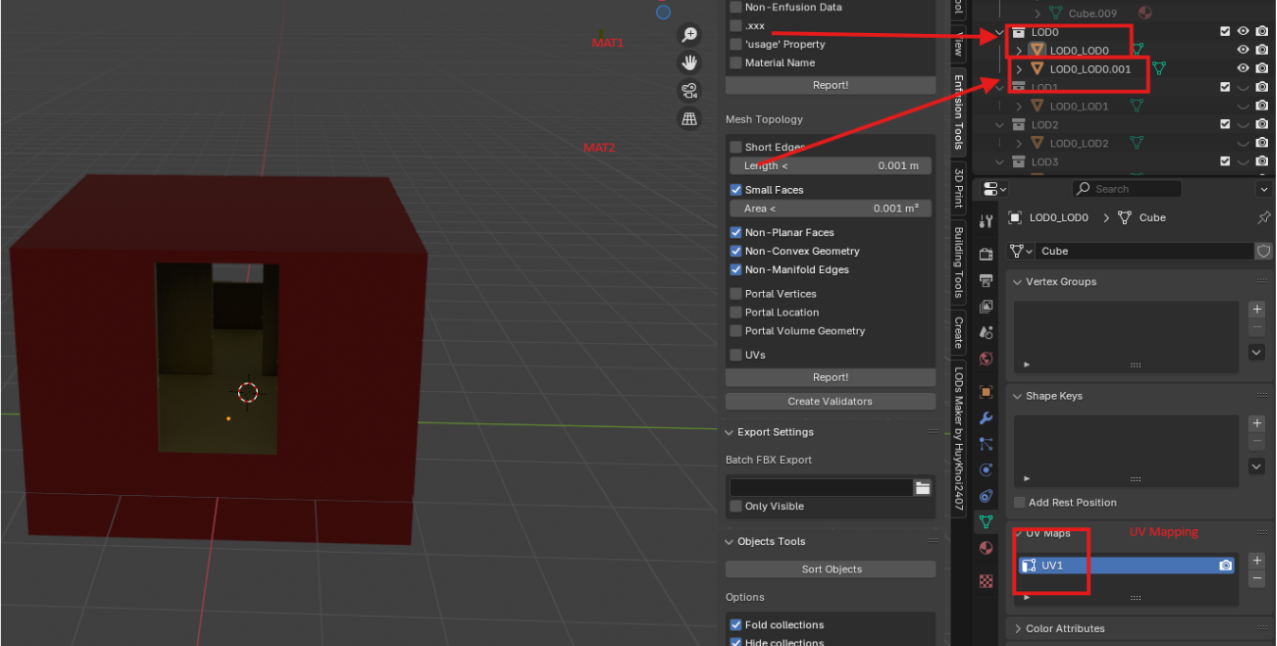
- Separate Faces by Material for Easier UV Creation
Select LOD0 → Edit Mode → select all faces → P “by material”. - Adding Seams
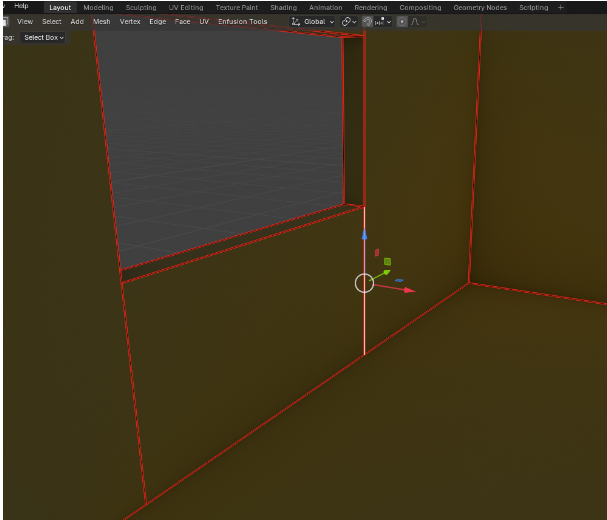
Seams help control how textures are applied to objects. For instance, with a cube, if unfolded, you have six faces. Without seams, the texture will apply uniformly. With seams on all edges, the cube splits into six squares.- To create a seam, select edges → right-click → Mark Seam.

- To create a seam, select edges → right-click → Mark Seam.
- Creating UVs
UVs unfold the 3D model (e.g., a cube with six faces). Start by renaming the UV map for both materials (which remain separate).
- For better visibility, go to each material, click the yellow circle next to Base Color → Image Texture → New → Generate Type → Color Grid.

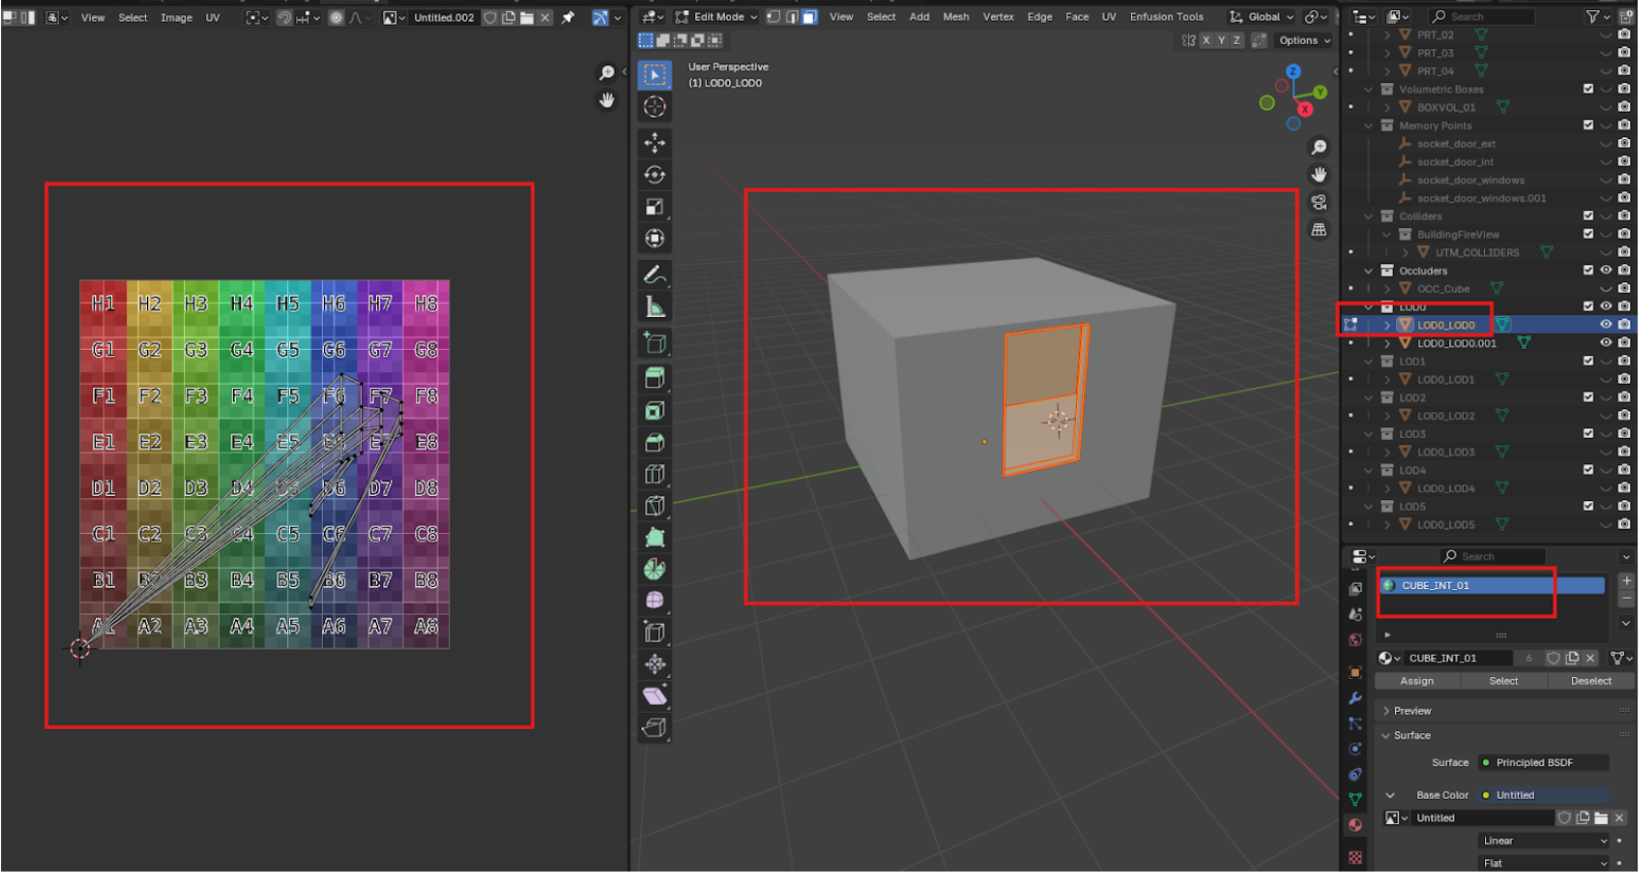
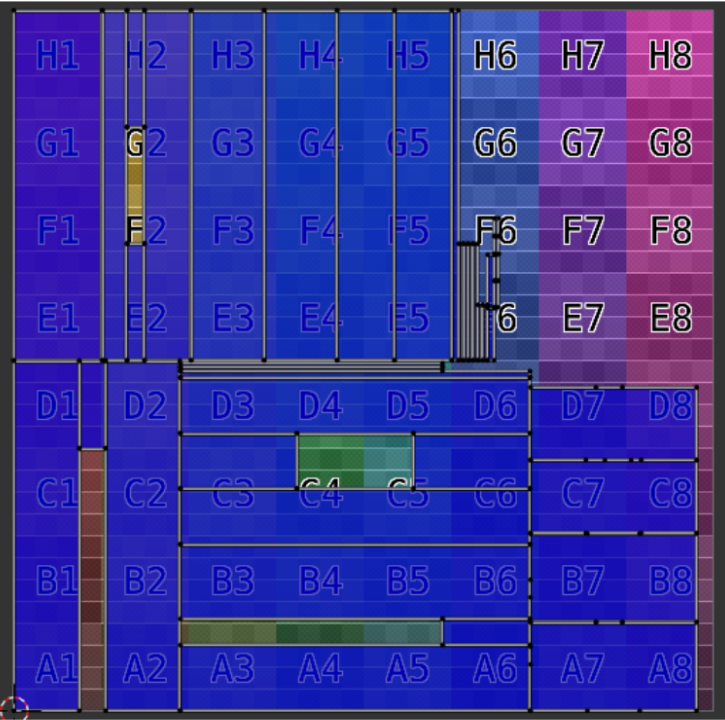
- Click UV Editing (top menu) → New (4096x4096) → Color Grid. A colored grid will appear on the left.
A colored grid has appeared on the left.
Now, when I select all faces in Edit Mode for a single material, I get a completely broken UV layout.
- Press U → Reset, then U → Unwrap to correct it.

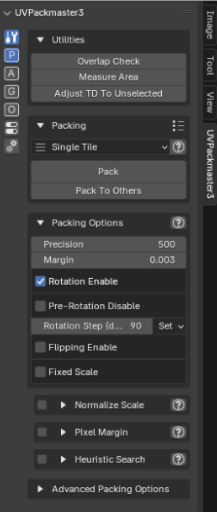
You can also use UVPackmaster3:- After resetting and unwrapping, click A (to select all) in the left window → Pack.

Do the same things for each material
- For better visibility, go to each material, click the yellow circle next to Base Color → Image Texture → New → Generate Type → Color Grid.
- Verification
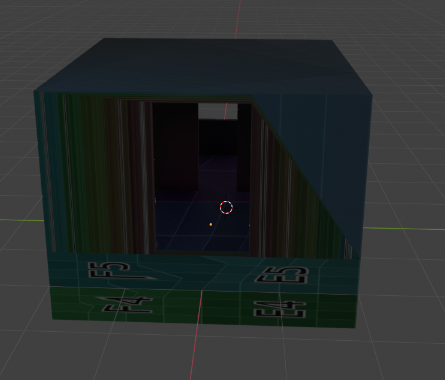
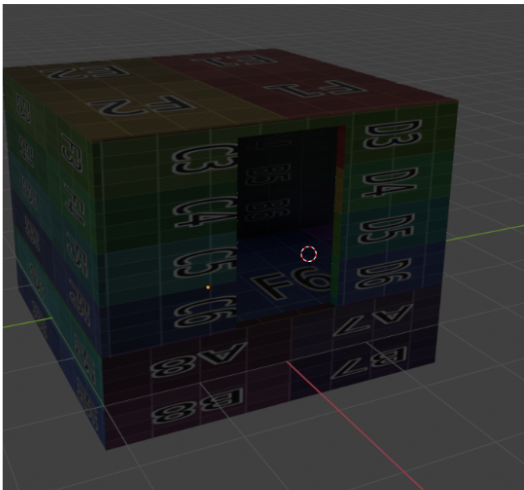
Once UVs are set, return to Layout and verify that the grid squares aren’t stretched.
- Export
Before exporting, select all materials and join them to the same LOD with Ctrl + D. Export the FBX with only LOD0.